Computational Couture
Class six - 31 October 2017
Tutorial, tutorial, tutorial...
To learn Grasshopper, there is no other way but to do tutorials. I tried to wander around with the software, but it is basically impossible to do anything if you don't know a lot of how it works. Its learning curve is very long. Anyway, it repays you in the long run for the amount of things that it lets you do.
Some tutorials can be found here, and if you have problems understanding some passages in the middle of the night and you are lucky enough to have Aldo Sollazzo's phone number, you can ask him directly as I did many times! In the middle of the night.
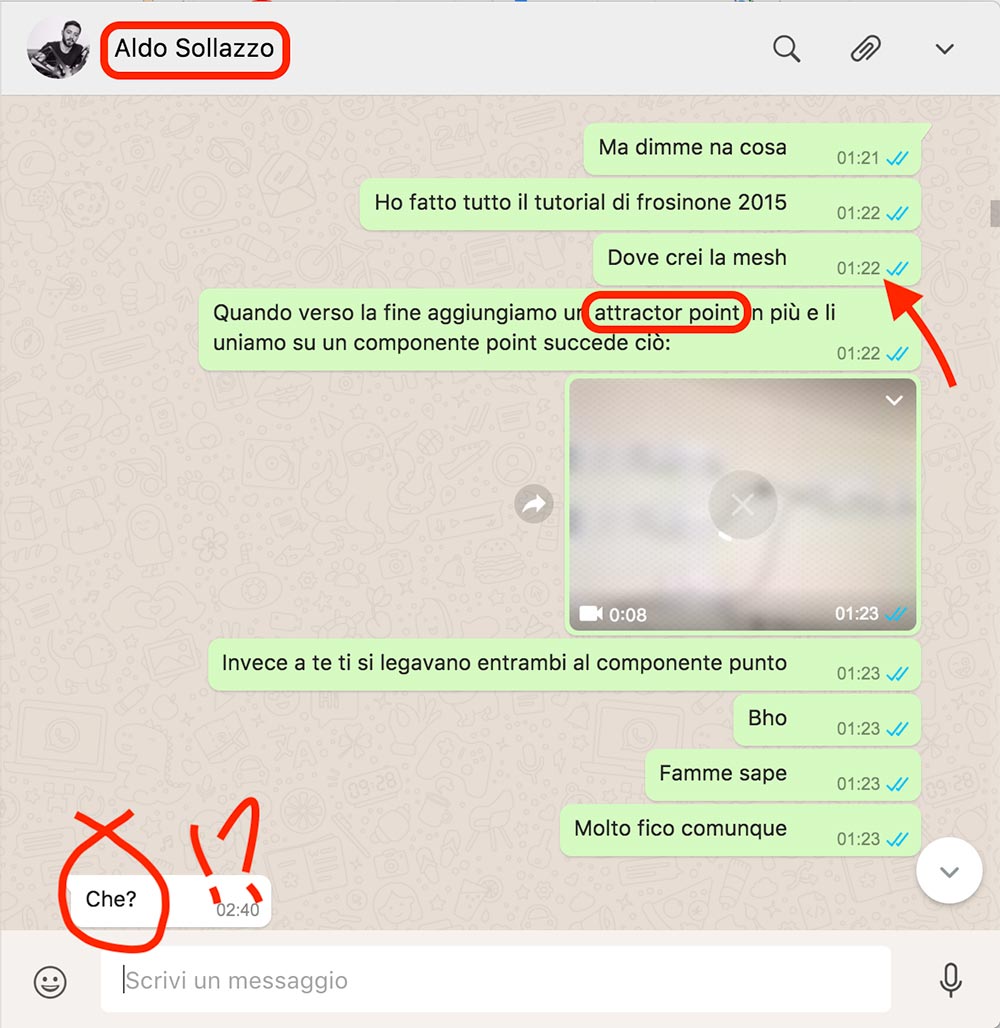
Screenshot from whatsapp. Notice the time.
3D mask from body scan
The definition I made is based on a mesh object, deriving from the body scan I took of myself in the first weeks. I used three plane to cut away a section of my face (I only performed some simple rotations to adjust the position of the head in order to get a symmetrical shape, and I placed the planes "by eye" untile I was satisfied with the resulting "mask" shape). The mesh was then offset by 3mm to give some thickness to the final model.
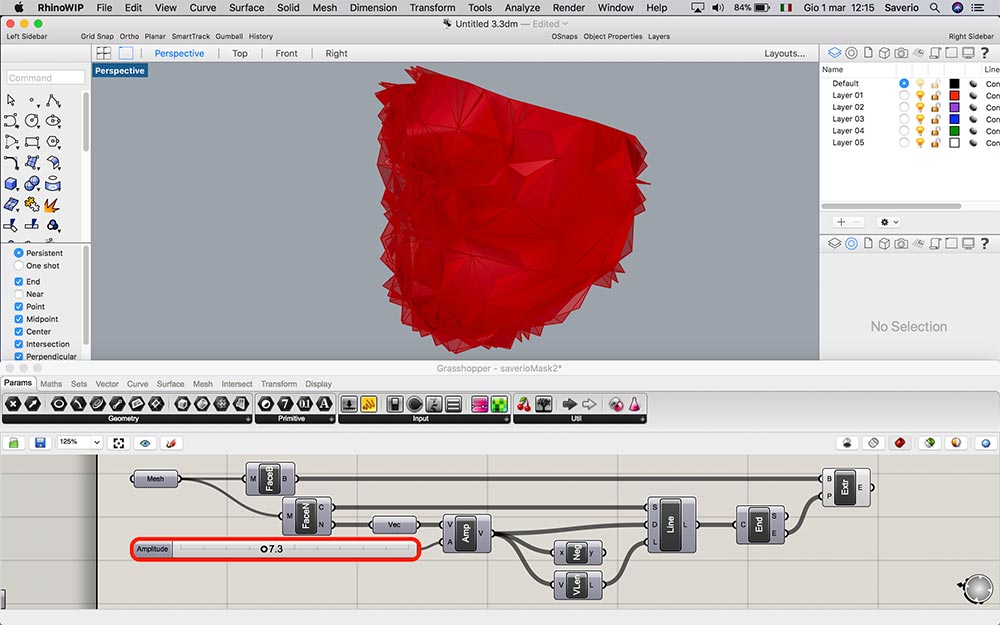
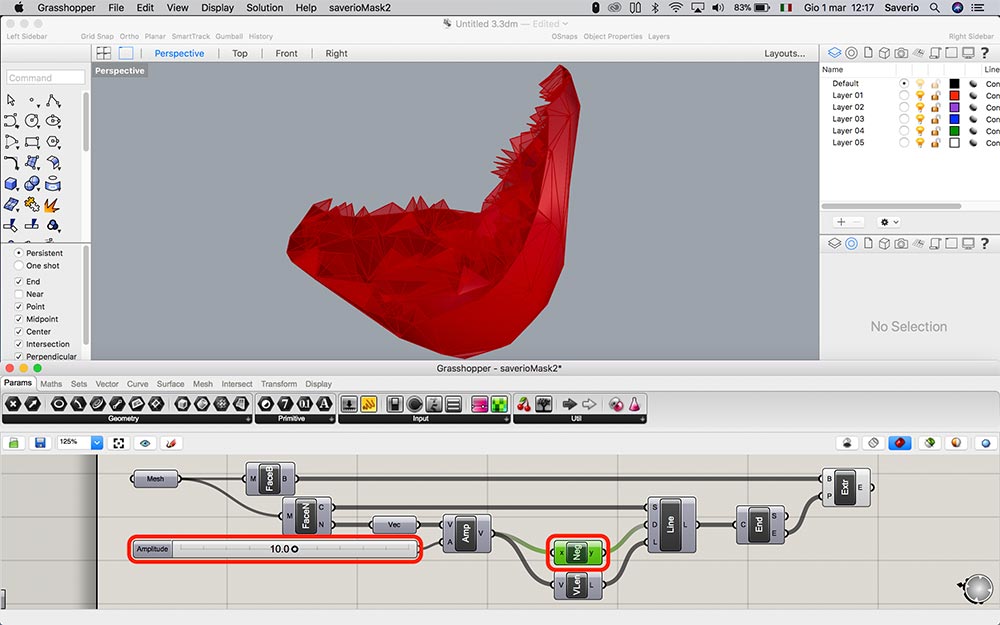
The definition is very simple: starting from the mesh, I extract its faces as polygons and I get the center point and niormal vector of each face, then I change the amplitude of the normal vectors and make an extrusion of each face to the second point of the normal vector. This amplitude that regulates the height of the extrusion can be modified by a slider and it can be made negative. I also tried to use different data to change this amplitude, like pollution data, or other data lists, but I failed.
Then I baked the extrusion and I used it as the outer shell of the mask. I only needed to offset as a solid the basic mesh coming from the 3D scan (again 3mm) and reconnect it with the baked surface (this gave me a solid with 3mm thichness walls, ready to be printed).
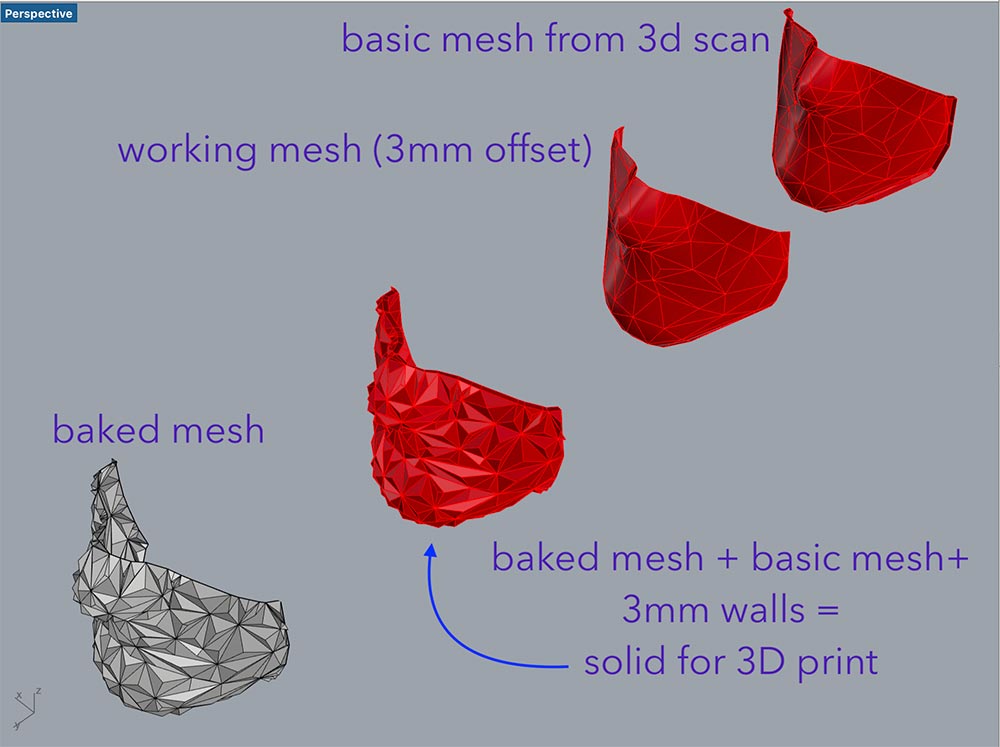
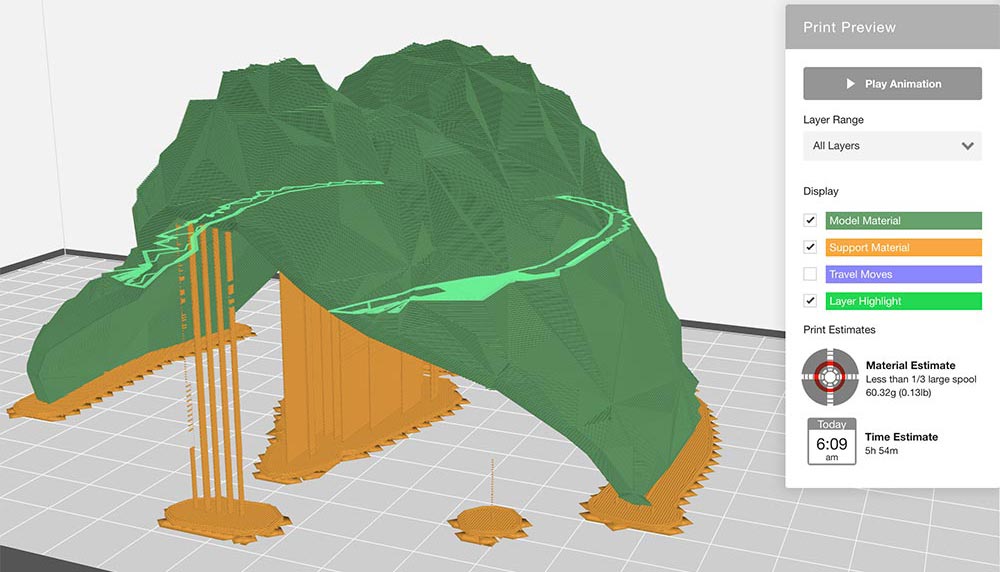
Elements of the mask model


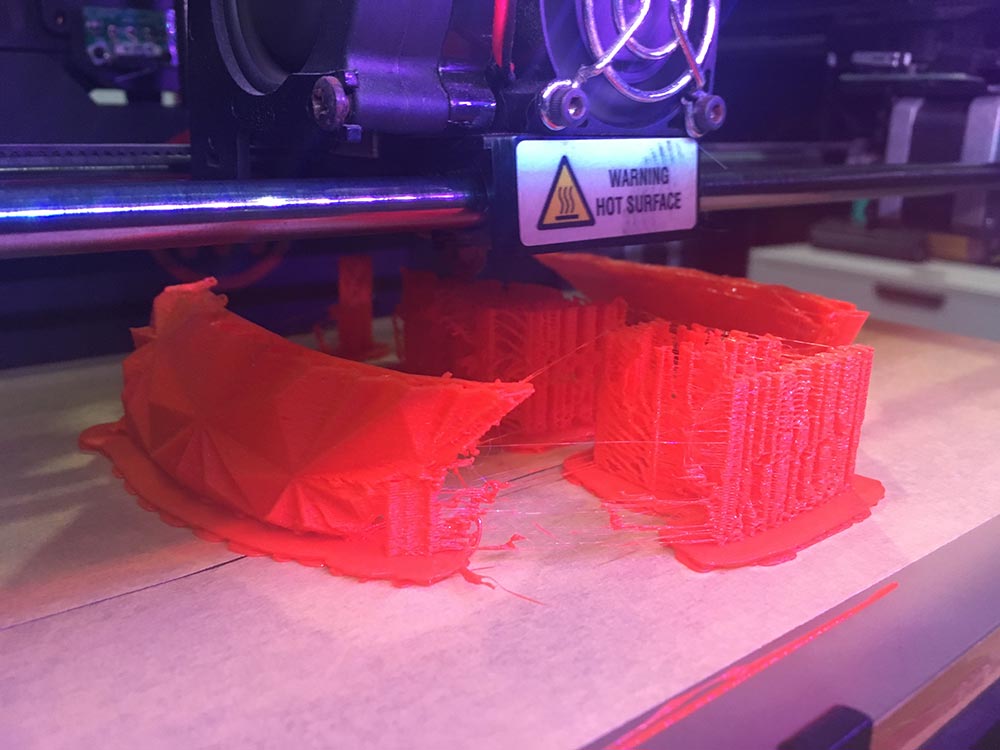
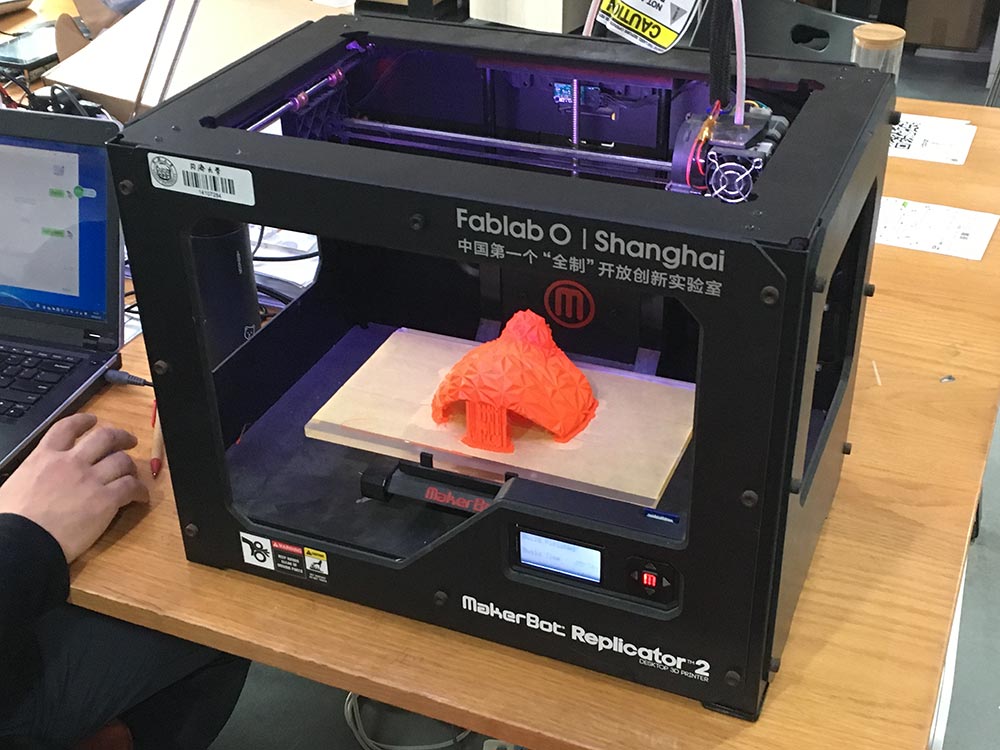
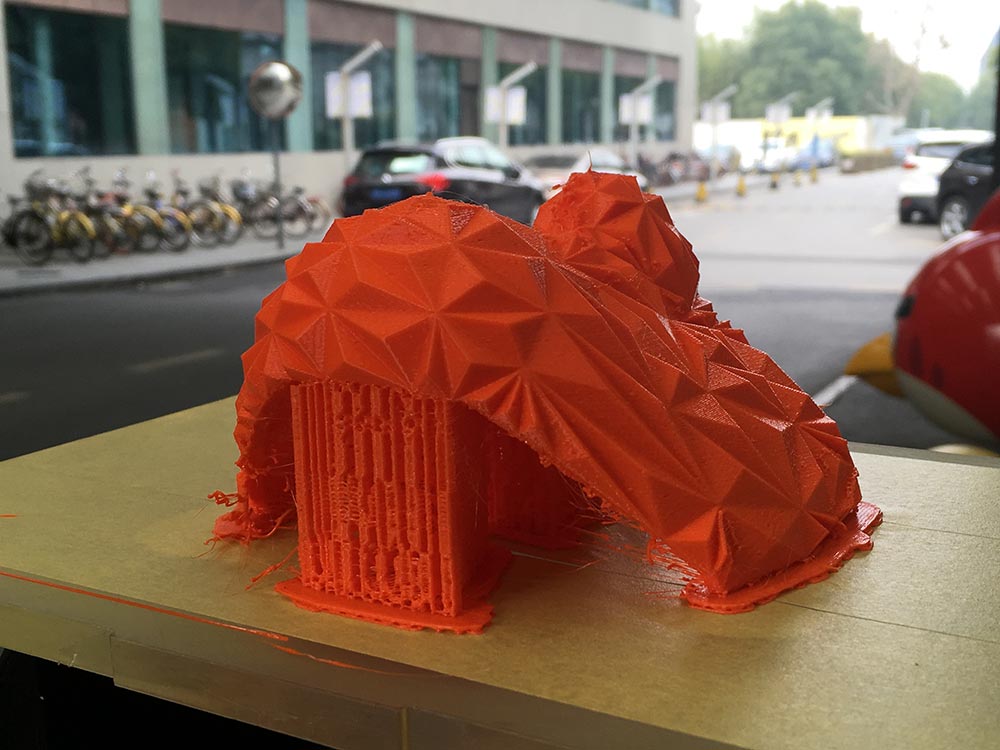
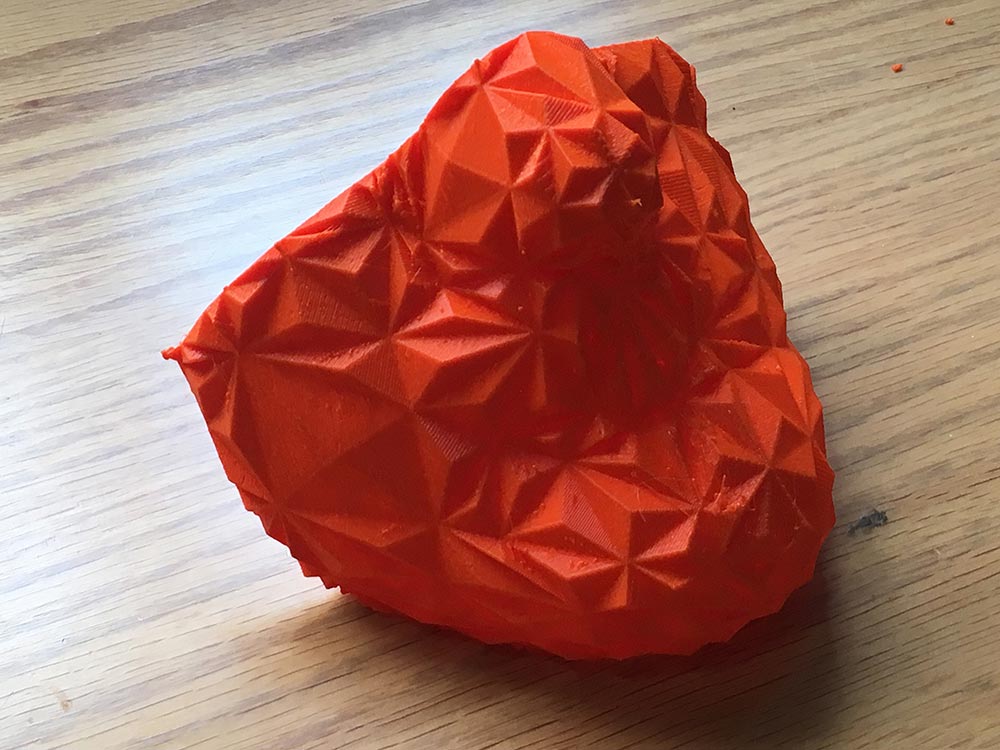
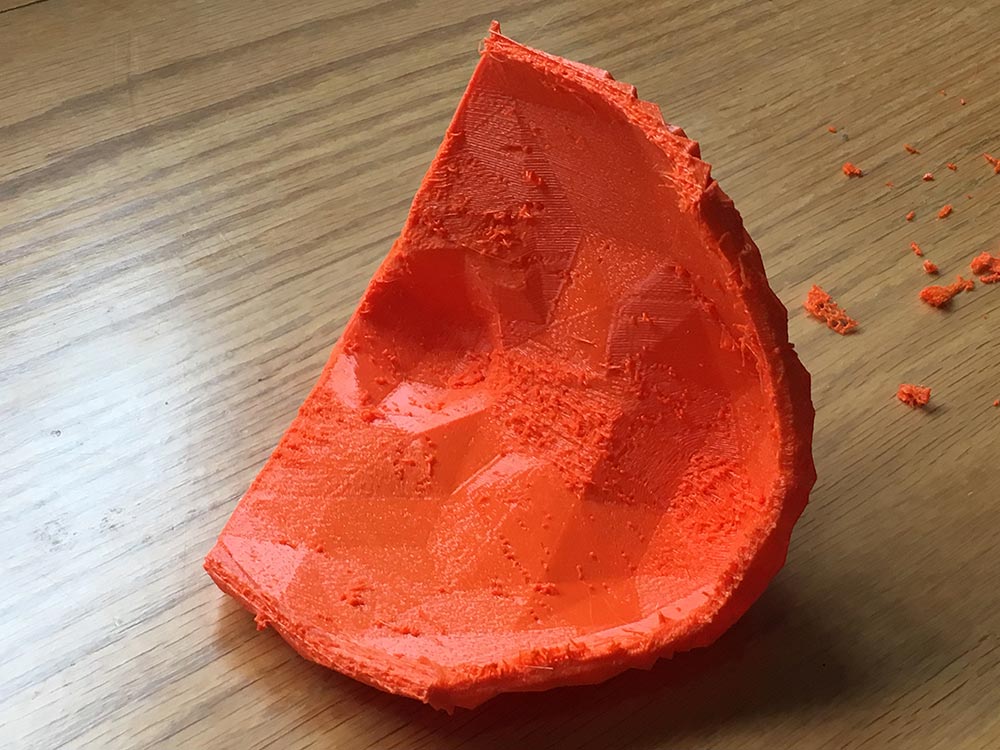
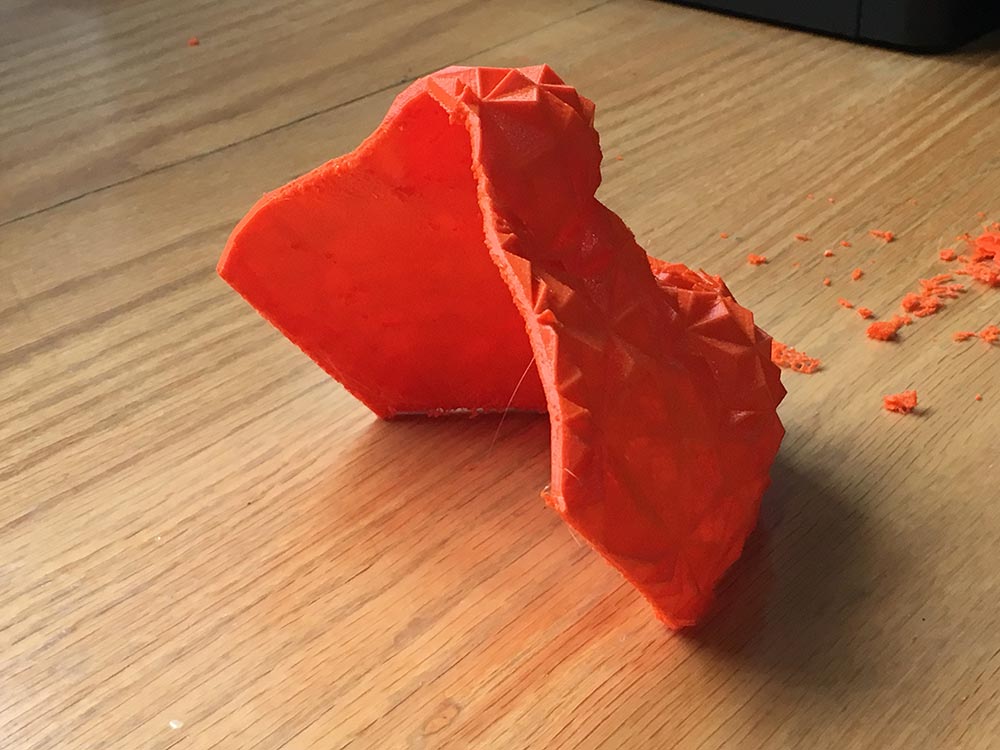
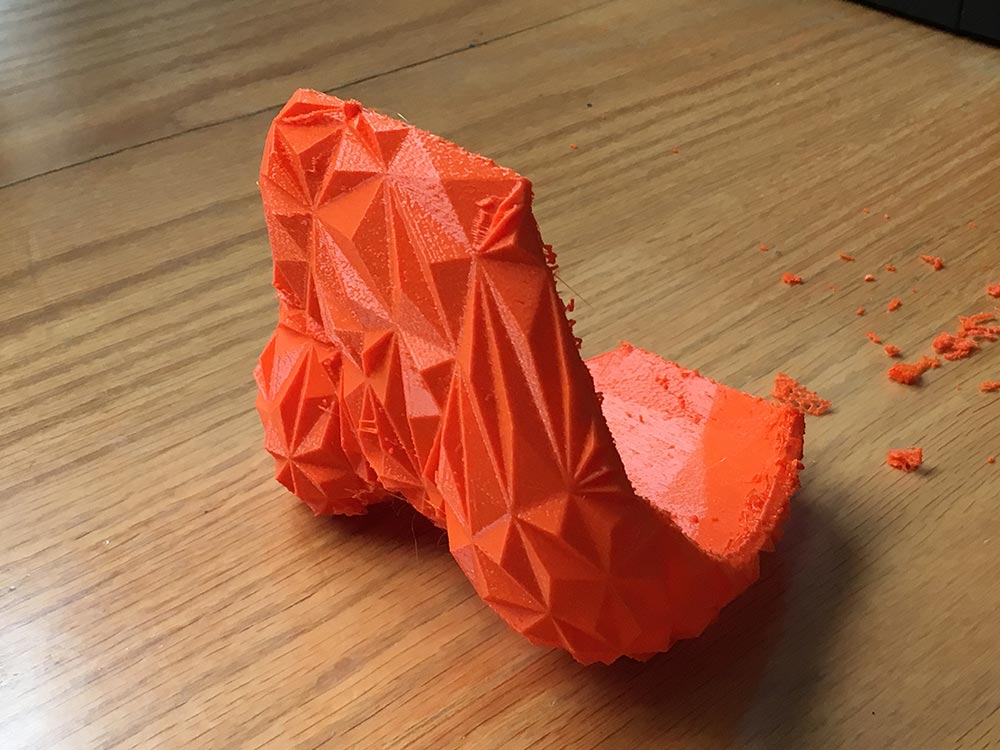
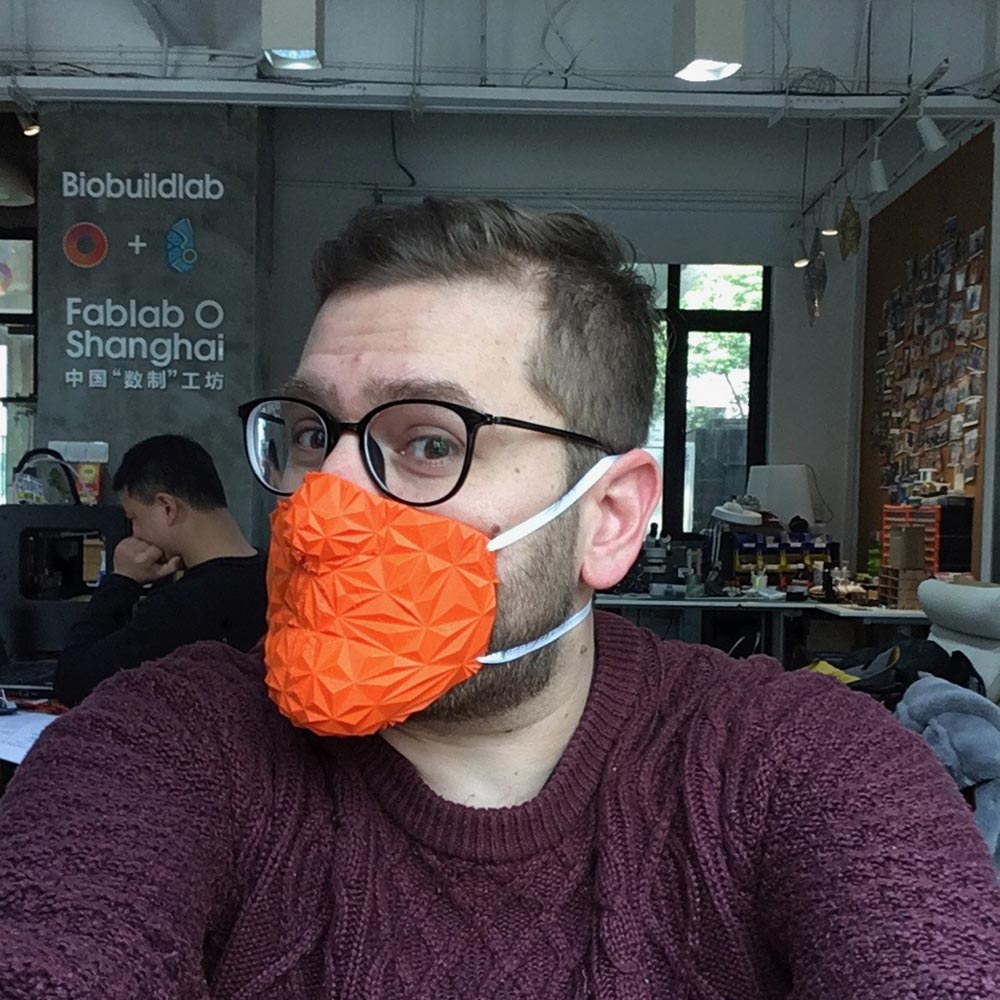
Printing and results
I printed the model on a makerbot replicator 2 with normal pla. I oriented the object in order to have the "face up" so that I could get a good definition of the "piramids" in the front part. Also using support and having the machine jump from one part to the other all the ime, I knew I would have had a very bad inside surface, so I placed it facing the print bed down. The print took six hours at 0.2mm layer height and I let it go overnight, the amount of support is not too mkuch and I am happy with that because I like to reduce waste. I am pretty happy with the ruslt: it suits my face perfectly as if it was coming from a mold... wait a minute, we could say it is a 3D scan mold! :D
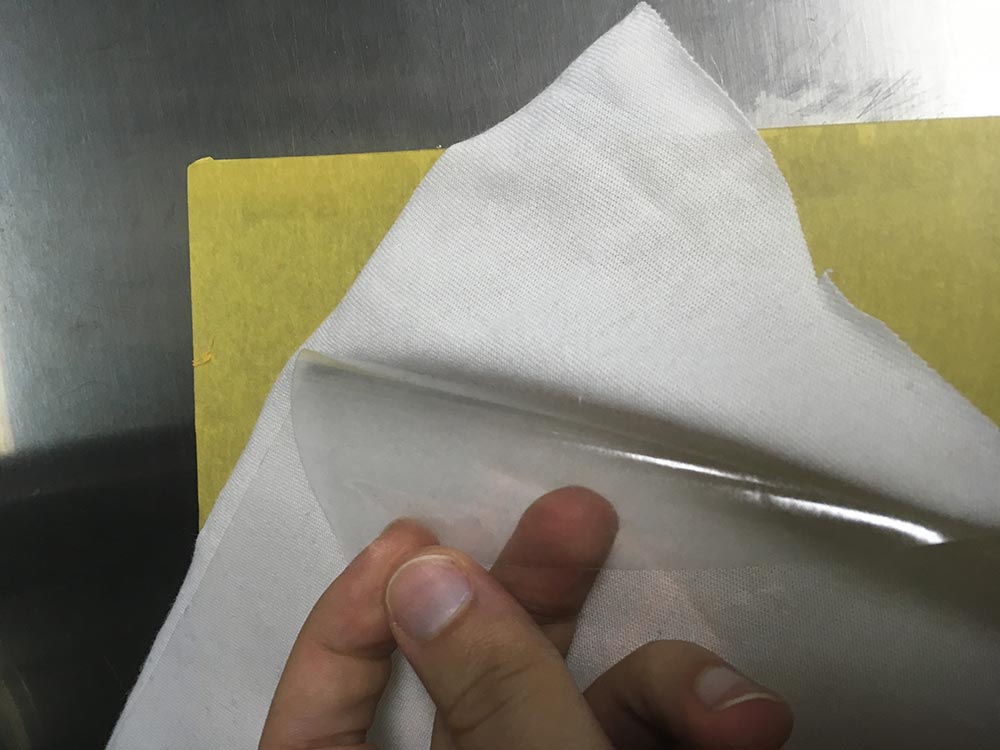
Print on fabric
I also made some experiments with 3D printing on fabric, I tried to print on simple t-shirt cotton with the Makerbot Replicator 2. I first placed the fabric NOT STRETCHED on a sheet of adhesive paper, the kind you use in the vynil cutter, to avoid deformation of the fabric while printing, then I prepared the model adding a little notch of a couple of layers (0,4mm) away from the main area of the print, in this way the actual print will happen a little higher than the printing bed to allow for the thickness of the fabric. Still the printer nozzel has to touch the fabric layer in order to extrude the fused plastic directly into the fibers.
he result was good, but it was not elastic at all (I wanted to make a deformable and adaptable mask) and I will go back in the future to this technique as I find it very interesting, maybe using stretchable fabric and elastic filament.
Adhesive sheet support

Detail of printing on fabric
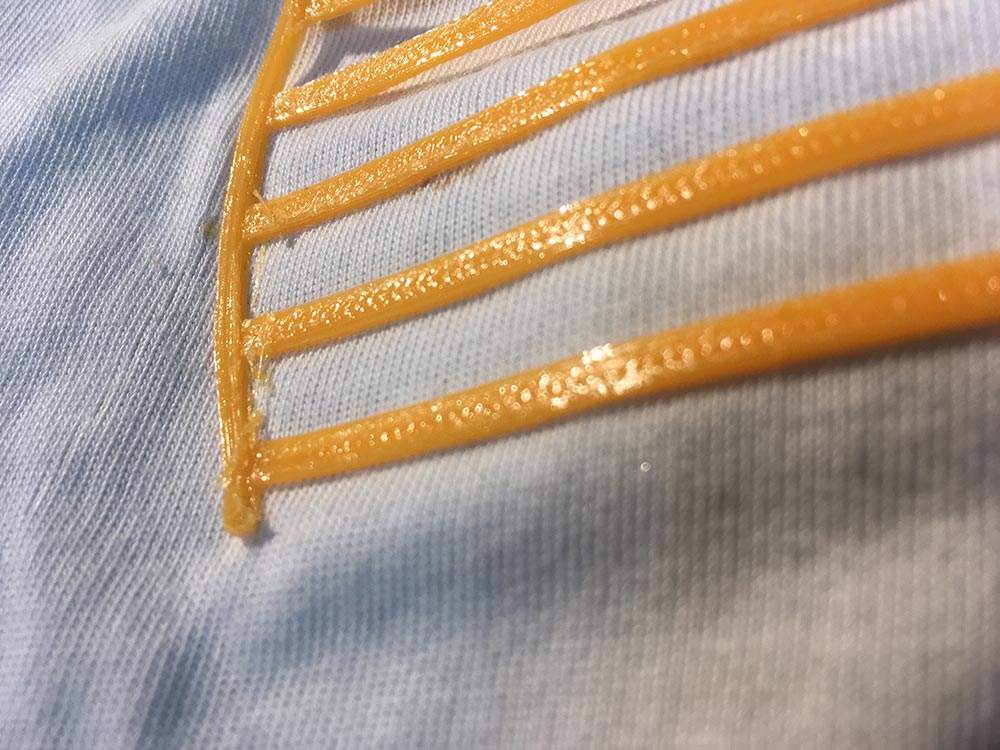
The result print. The pic was taken after some time, I had made some bending tests and tried to heat up the plastic to change its shape, but the result was a failure and I got some of the plastic to delaminate from the fabric.
Files Storage
This website by Saverio Silli (based on Twitter Bootstrap) and all its content is licensed under the following license: CC Attribution-Share Alike 4.0 International.