Class 5
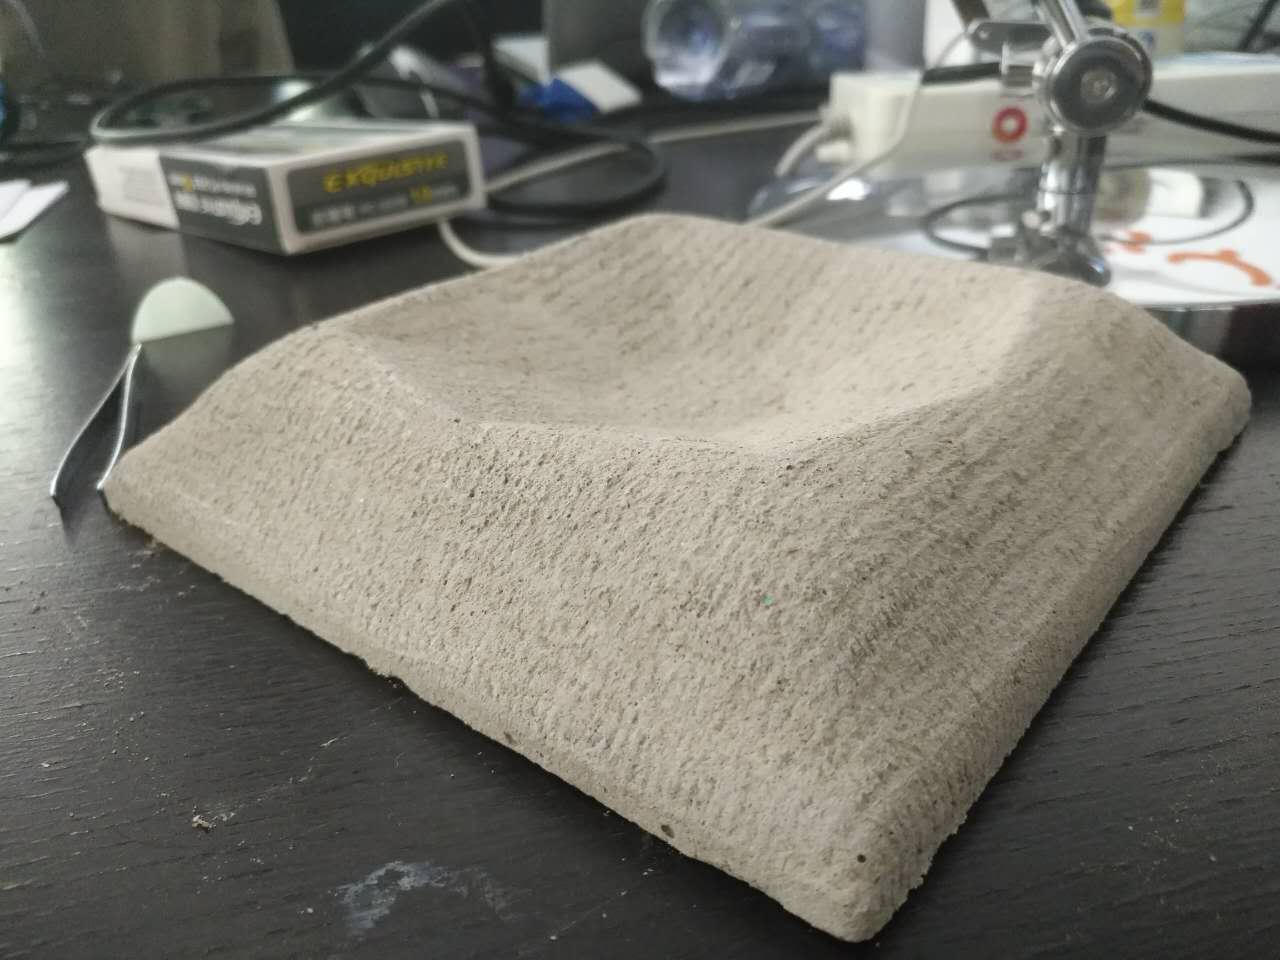
Today we learned how to use the computer-controlled cutting, molding and milling technology to manufacture a mould and a concrete copy of it. Firstly using Rhinoceros, I established the model of the mould in three dimensions. With the help of Roland milling machine, I milled and cut out the mould in a foam board after many discreet settings and constant dust handling. By mixing sand, stone, clinker and some other materials, I produced the cement that I used to fill in the mould. A day later, the cement became condensed and a plate was accomplished!
Image 0501
This image shows Neil trying to cut the foam board with a retractable blade. It was a challenge to keep the section straight and smooth.
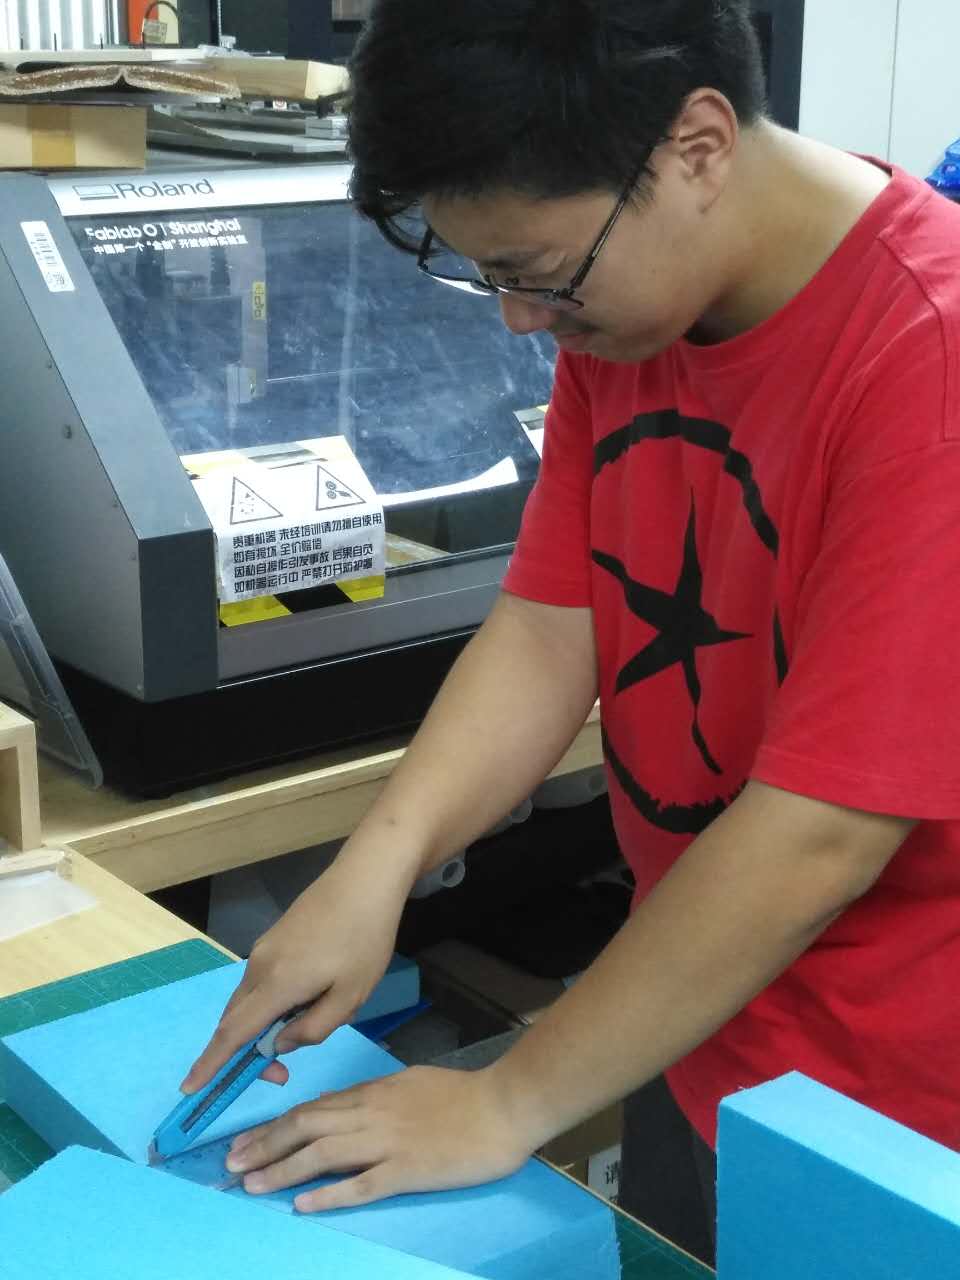
Image 0502
This is an image filmed during the process of milling the mould.
P.S. The diameter of the drill bit was 0.6cm, and the overall length of it was 5cm, while the length of cut was only 1cm. When set the machine, I seperated it into two processes, roughing and finishing, each with different requirement on speed, path interbval and other items.
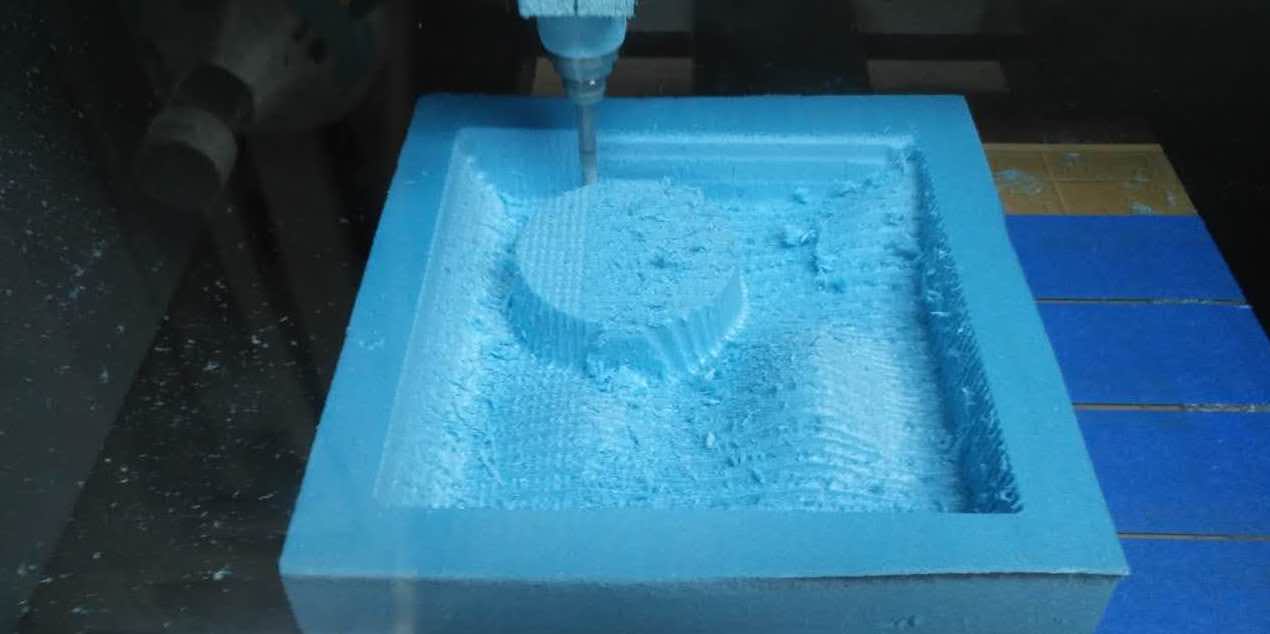
Image 0503
This is a image of what mould looked like after milling. The surface of it was still relatively rugged.
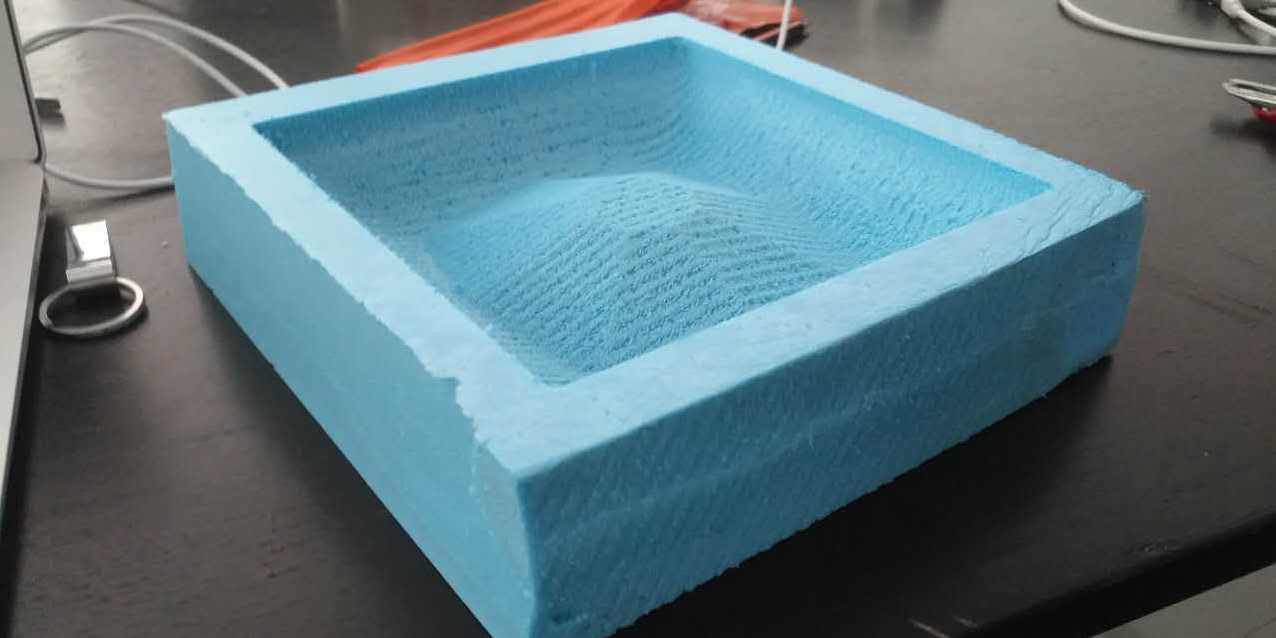
Image 0504
This image shows the materials used to manufacture cement. The powder in the cup was the mixture of cement mix and quicklime and sand. The proportion was 30:3:10. The barrel was used to stir up the mixture with water.
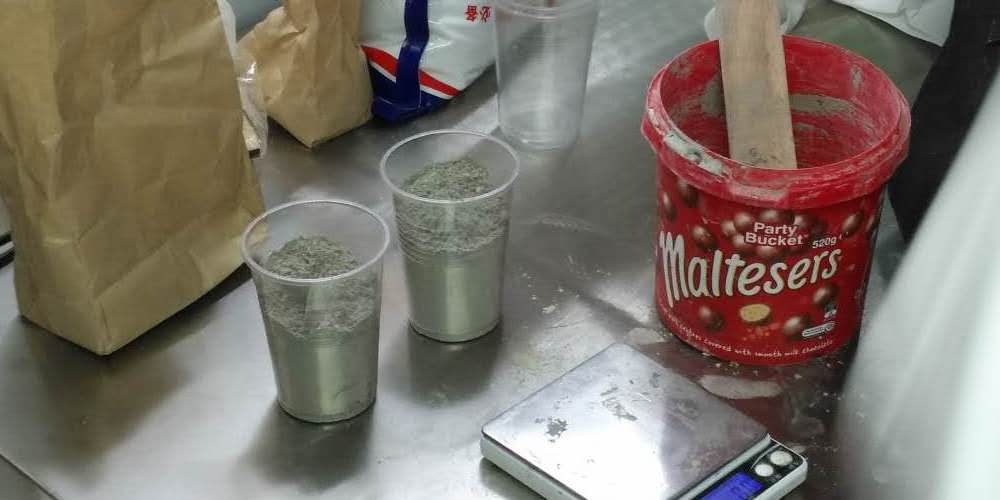
Image 0505
This is what the moulds looked like when all the cement was poured in them. It took about a day for them to dry up.
P.S. Before the cement was poured into the mould, its surface should be covered with a layer of vaseline.
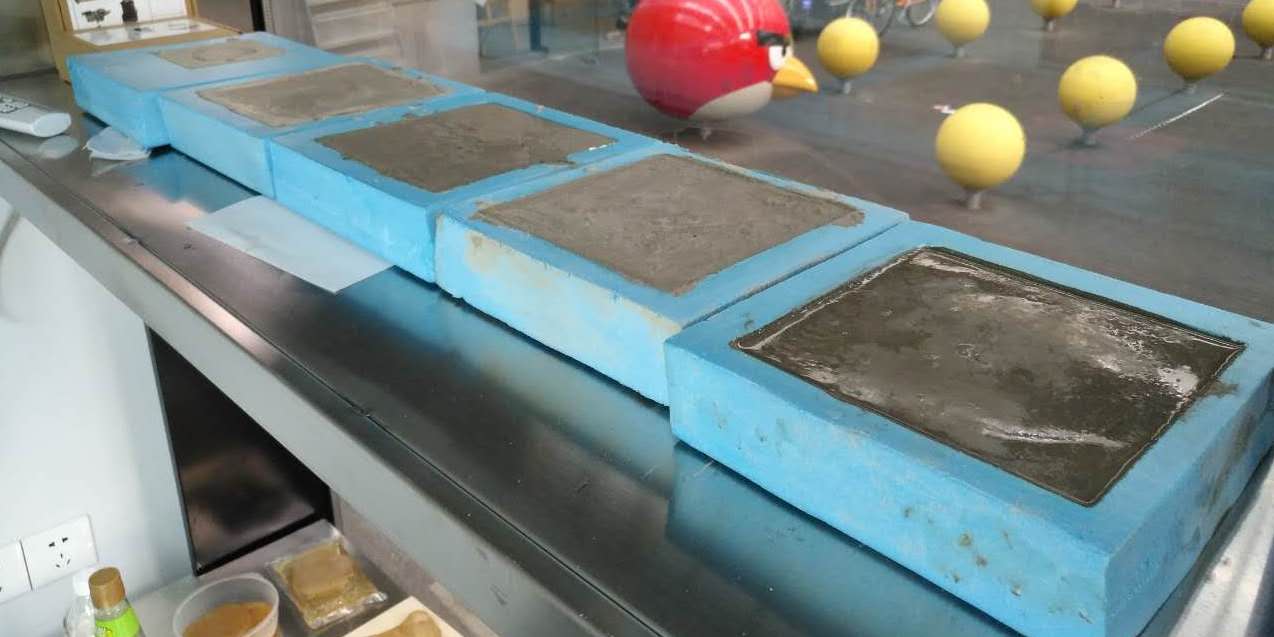
Image 0506
Probably due to underusing vaseline to cover the surface of the mould, there was still a lot of cement that adhered to it. So the surface of the concrete copy became less smooth.
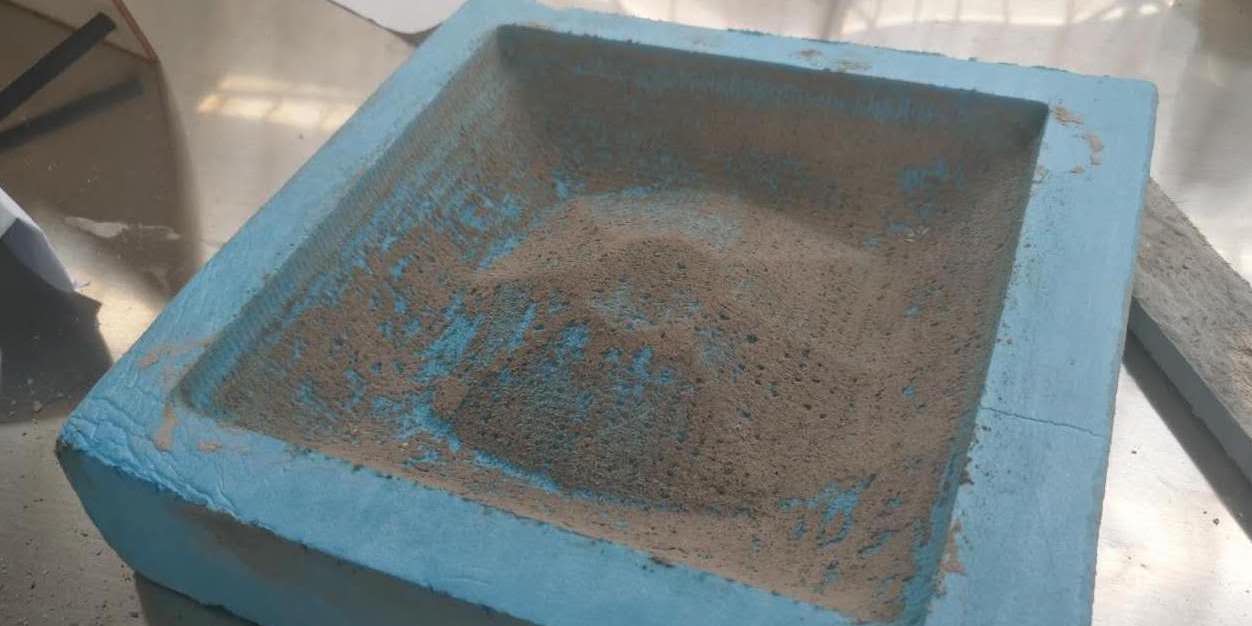
Image 0507
This is what concrete copy looked like when it was finally finished and dried up.
