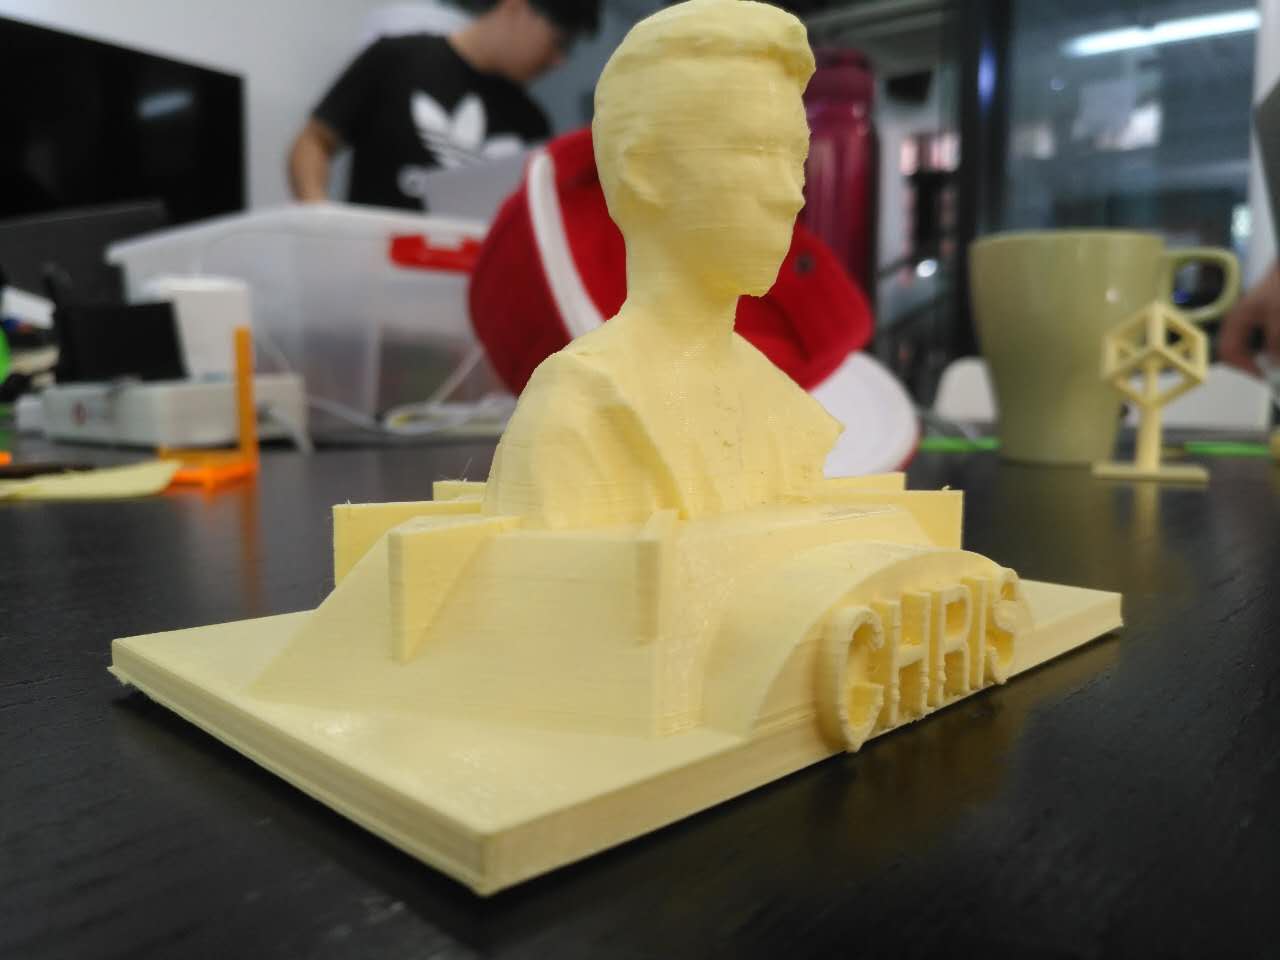
Class 4
Today we learned how to use the 3D scanner to scan ourselves and print a bust based on it using the 3D printing machine. With the help of the software Meshmixer, I transformed the image scanned into consolidated object without any cracks on its surface. After that, I used the software Rhinoceros to change the simple object to a bust with well-designed base and engraved name on it. At the end of the class, I also used the machine to print out some smaller objects, such as a hollow night-light cover.
Image 0401
Our instructer Saverio is teaching us how to operate the 3D Scanner. In order to scan, We kept the scanner constant, and rotate the body or object we wanted to scan.
P.S. To use the 3D scanner, we used a software called Skanect. We first set up a holder to support the scanner, and tuned its scanning range, usually to 1m-1m-1m. Then, the person who would be scanned sat on a chair and rotated around a vertical axis.
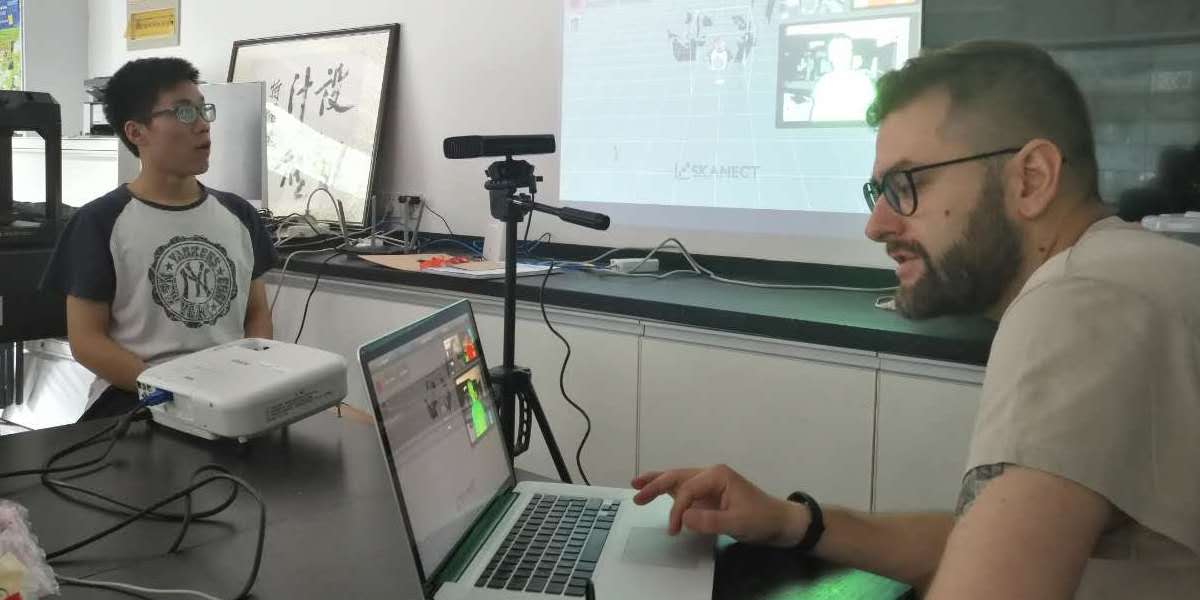
Image 0402
This is a screenshot of my computer. The software being used was Meshmixer. I used it to give the bust a "plastic surgery".
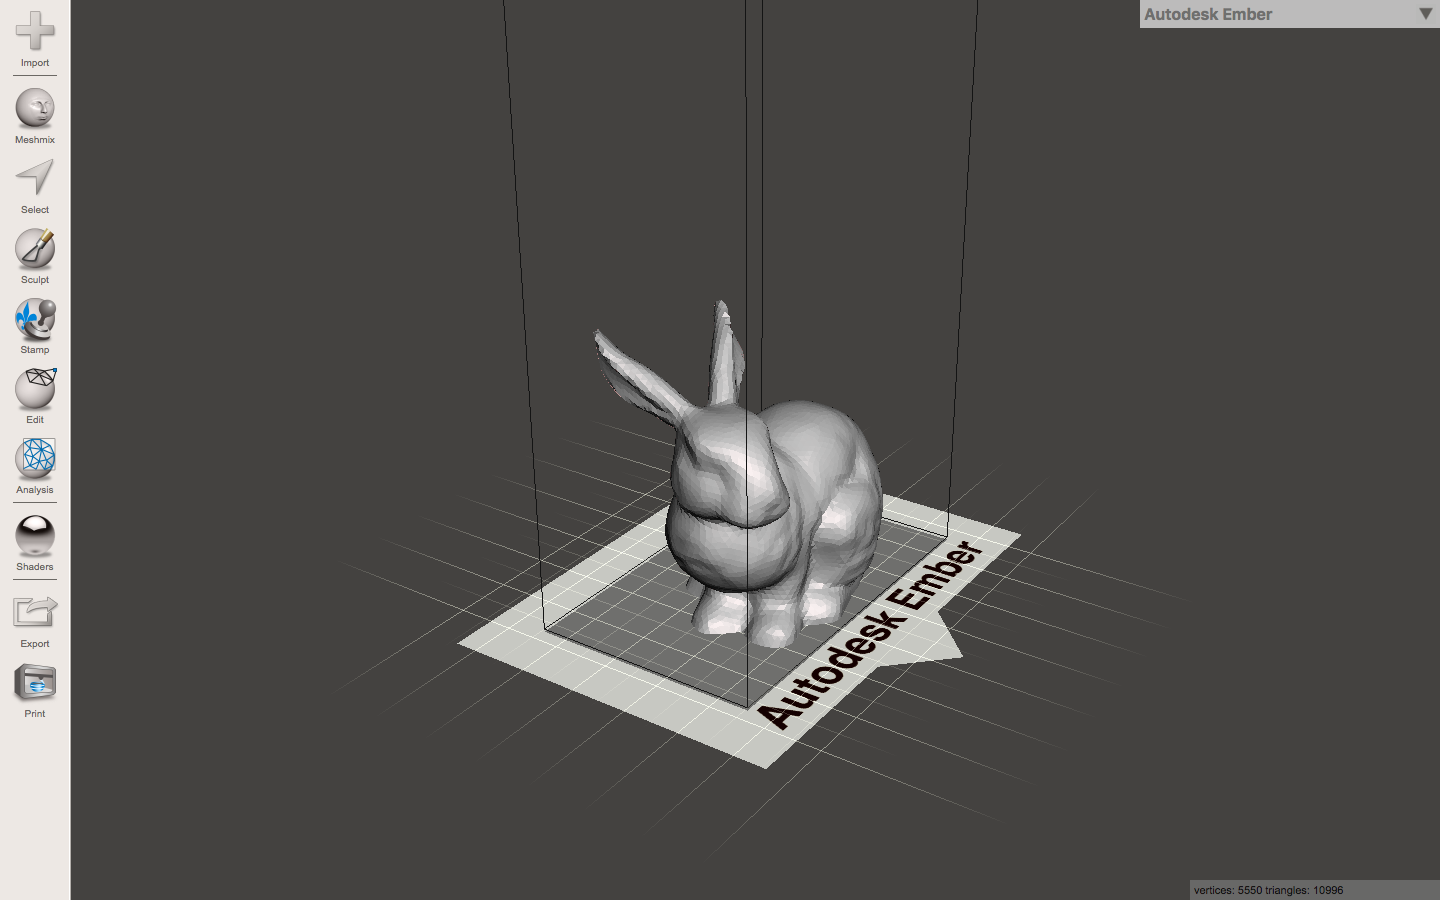
Image 0403
This is a image of what the bust looked like in the process of printing.
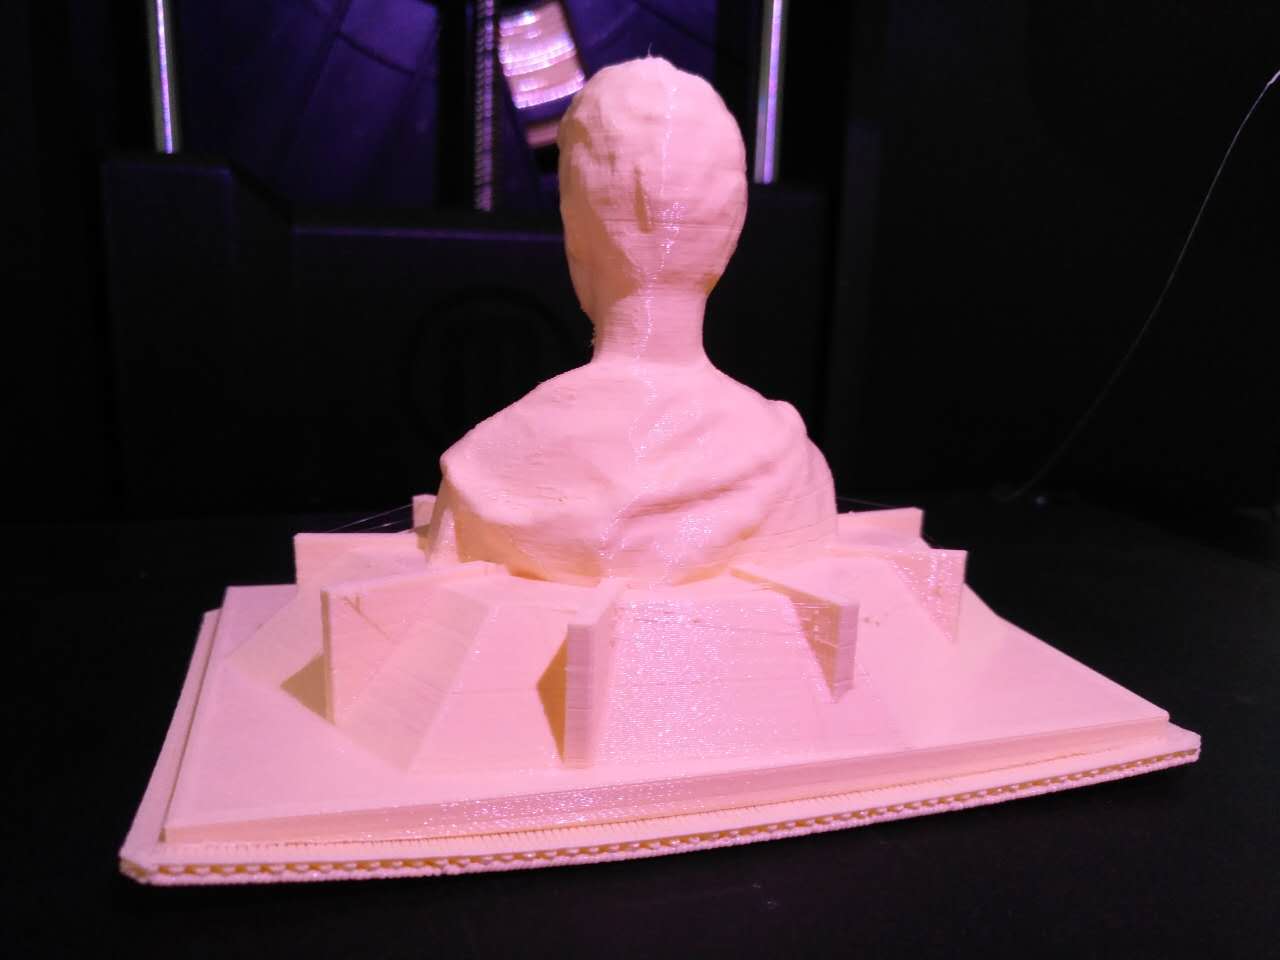
Image 0404
Due to the difference in temperature of disparate parts, several corners of the raft edged up. It was hard to solve the problem unless we keep the size of the base in a certain limitation.
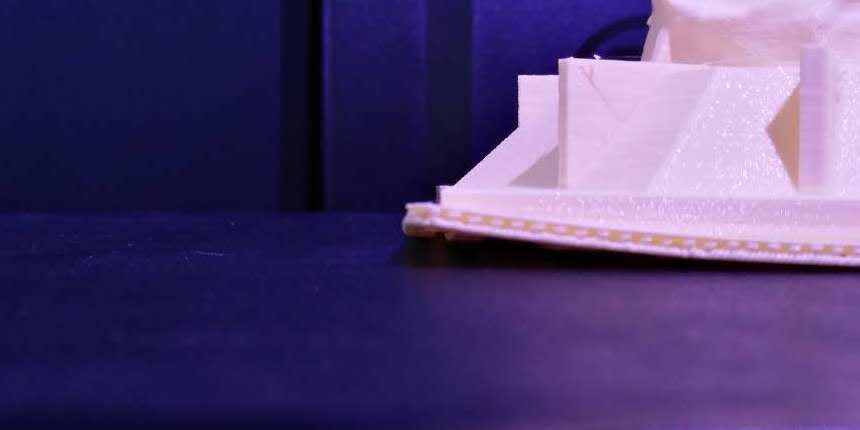
Image 0405
This is what the bust looked like when all the accessories like support and raft were removed.
