Class 3
Today we learned how to use the design software Rhino in 3-dimensional mode and operate the 3D printer to make an object. Firstly, I made a standardized model with walls of different width, bridging and leaning surfaces. After the test, I started to design a model of a certain architecture---an egg-shape ellipsoid surrounded by many wave-shape walls. The model tend to use the transparentness of parallel walls and combination of glass-like material with stone-like material to indicate the nobleness and smoothness of water.
Image 0301
This is a screenshot of the software Rhinoceros I used to build 3D model for my product.
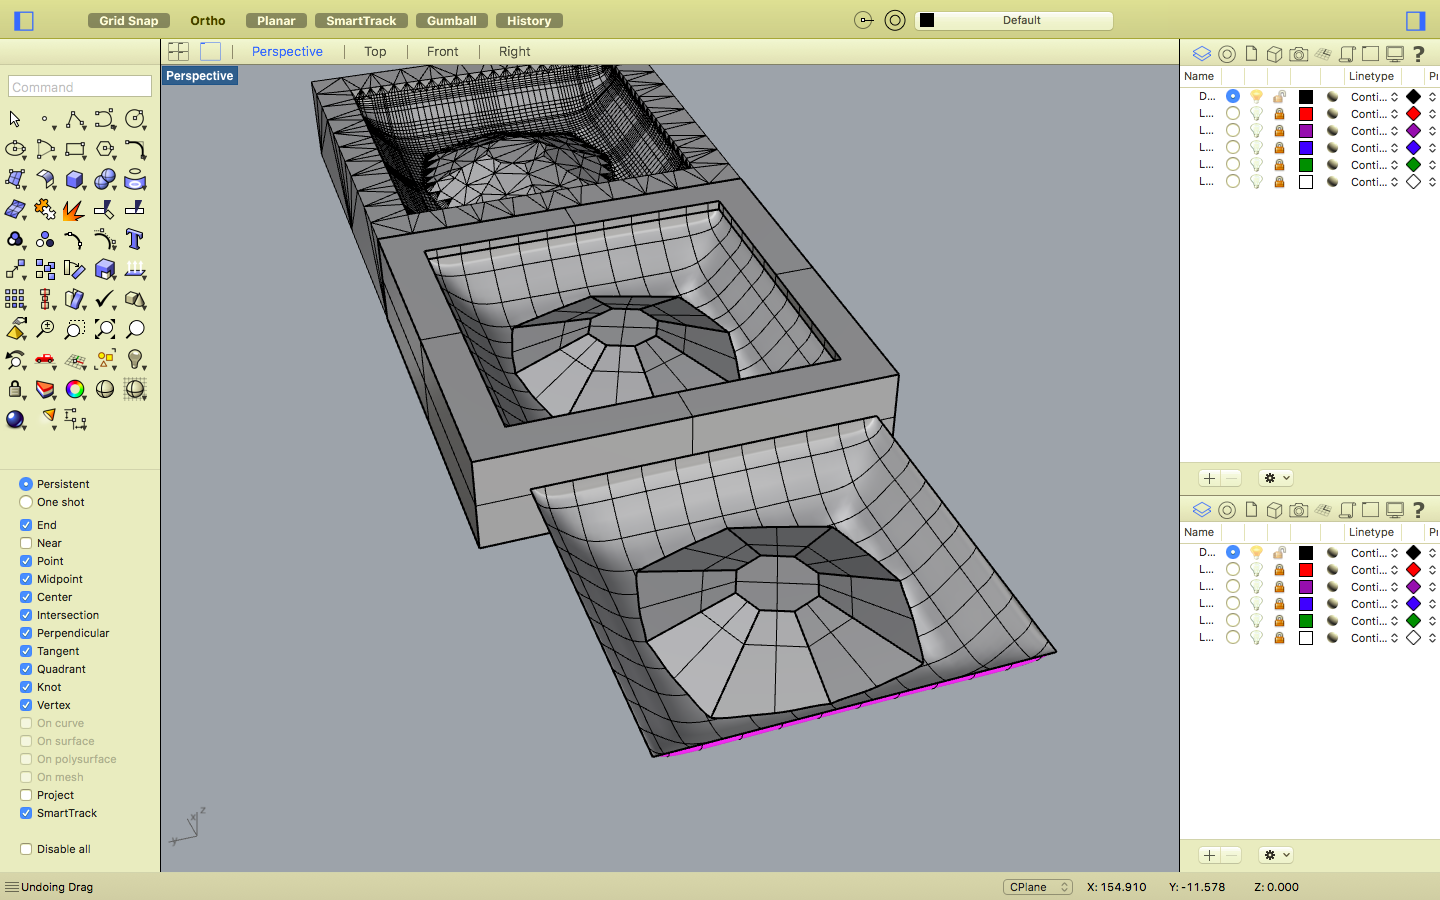
Image 0302
This is a screenshot of the software MakerBot, which was an accesory to the printing machine. I used it to change printing settings and have a rough estimate of what the product would look like.
P.S. The layer height was usually 2mm or 3mm with 2 shells. The filled density could be controlled up to 10%-15%. Some other settings like support and raft could also be changed based on actual conditions.
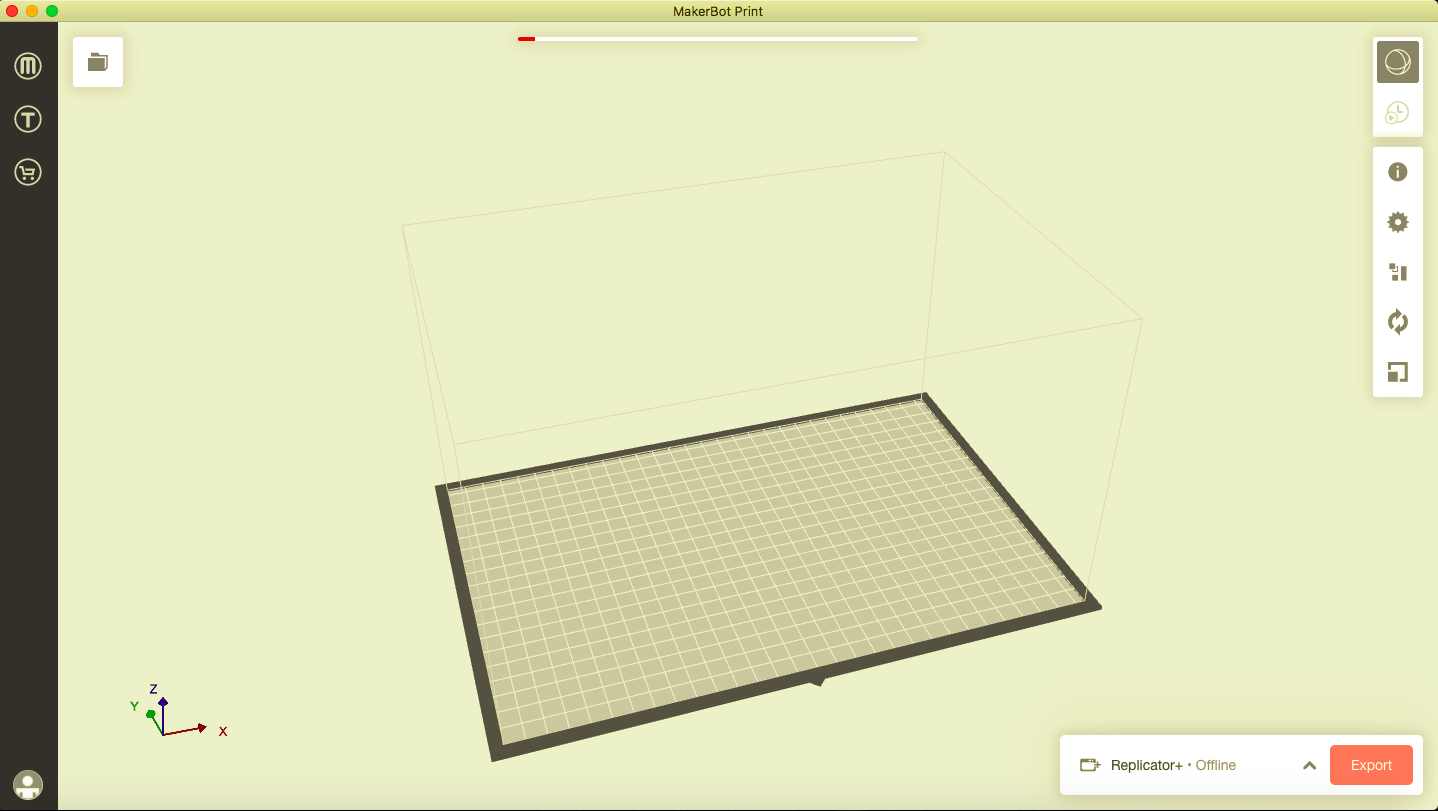
Image 0303
This is the 3D printing machine we used to print models. It uses PLA material and sprays the filament on the base palced at the bottom of it.
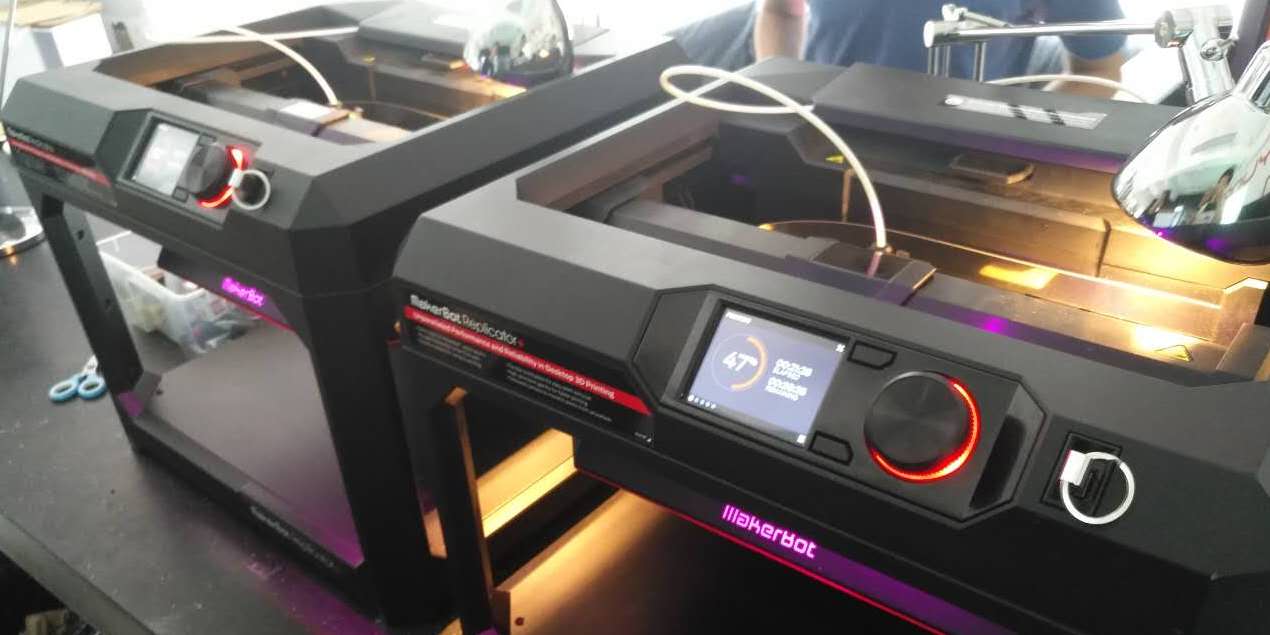
Image 0304
These two components are used as test-models to see whether the machine can properly print out the ultimate product.
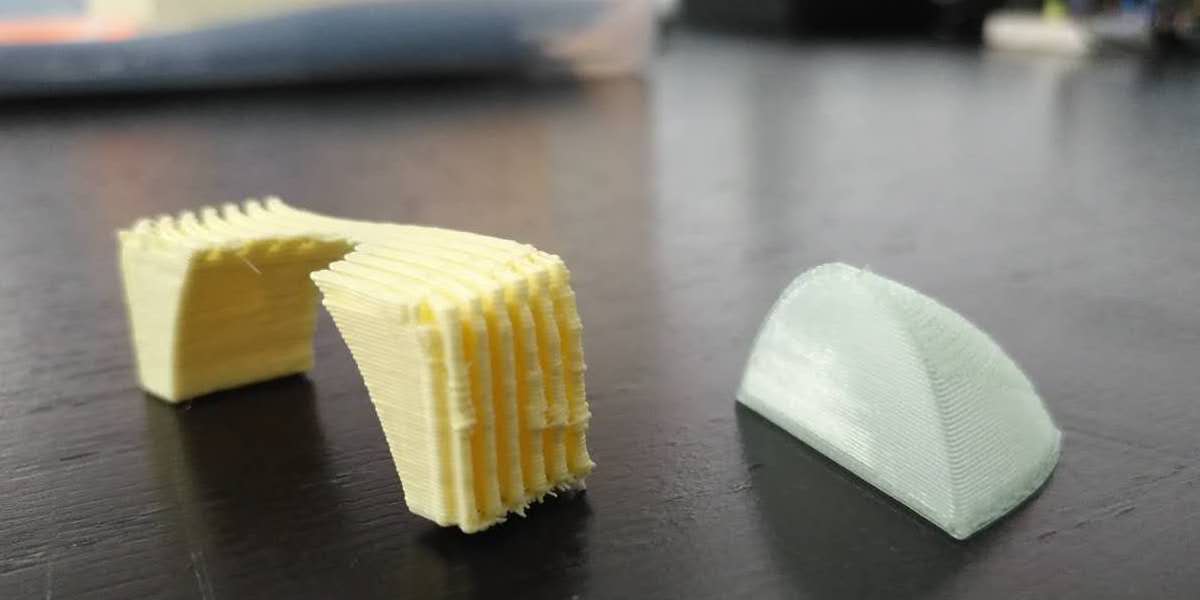
Image 0305
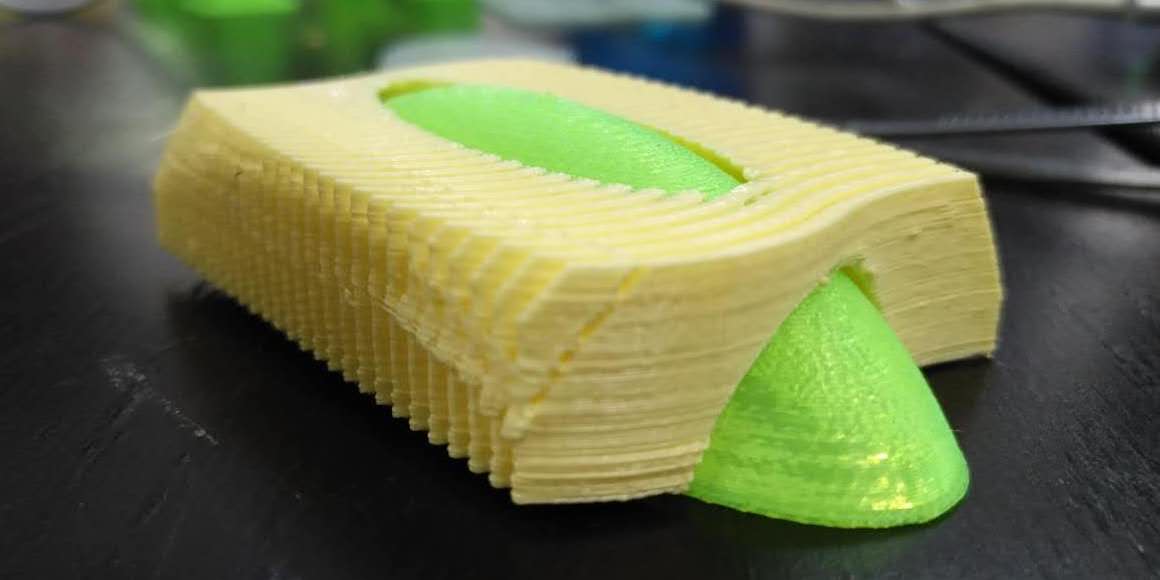
This is a image of one of the components when it was printed out. Obviously, the edge of it was still a bit rugged. To make it better fit the other component, I used file to polish its surface.
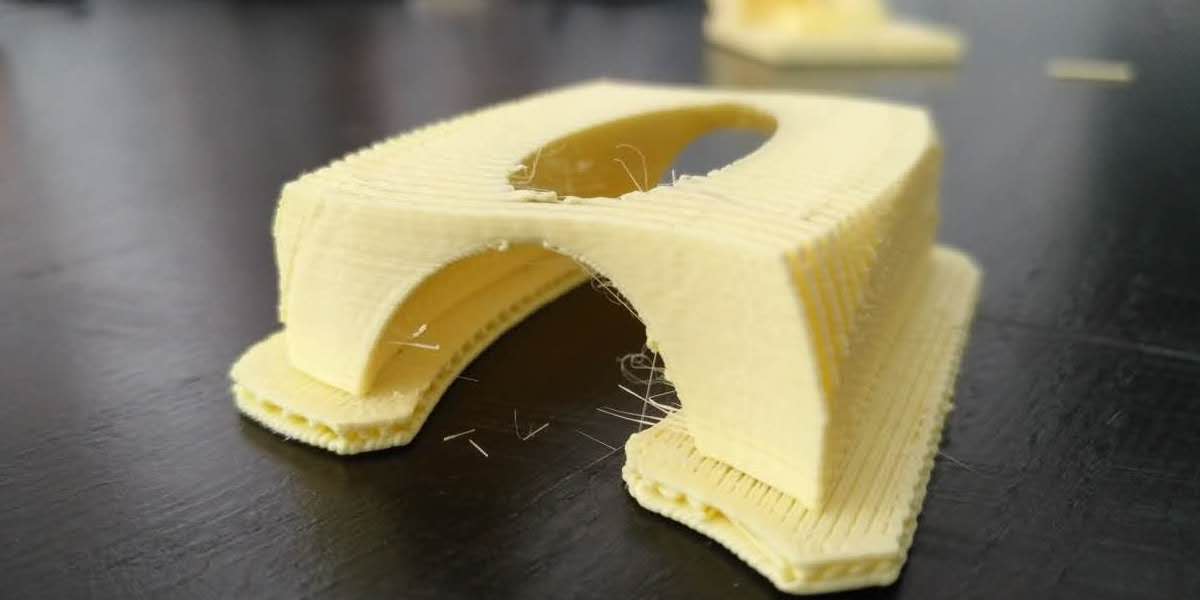
Image 0306
This is a image of the ultimate product. The green part was translucent and reminded me of glass, and the yellow part was opaque and reminded me of stone. The whole structure looks like the model of a train station or a stadium.
