Class 2
Today we learned how to use the design software Rhino and operate the laser cutting machine to make a nametag. Firstly, I designed a standard nametag as shown below. However, it had many problems. Due to the width of laser beam, the actual width of the components was less than it was supposed to be, so the nametag became extremely loose. Too fix the problem, I did a lot of trials. Finally, I successfully made the nametag that had both aesthetic value and usefulness. I also made another fabrication composed by standardized components, which can be used as a base for any small objects. The quintesssential value of the technology really impressed me.
Image 0201
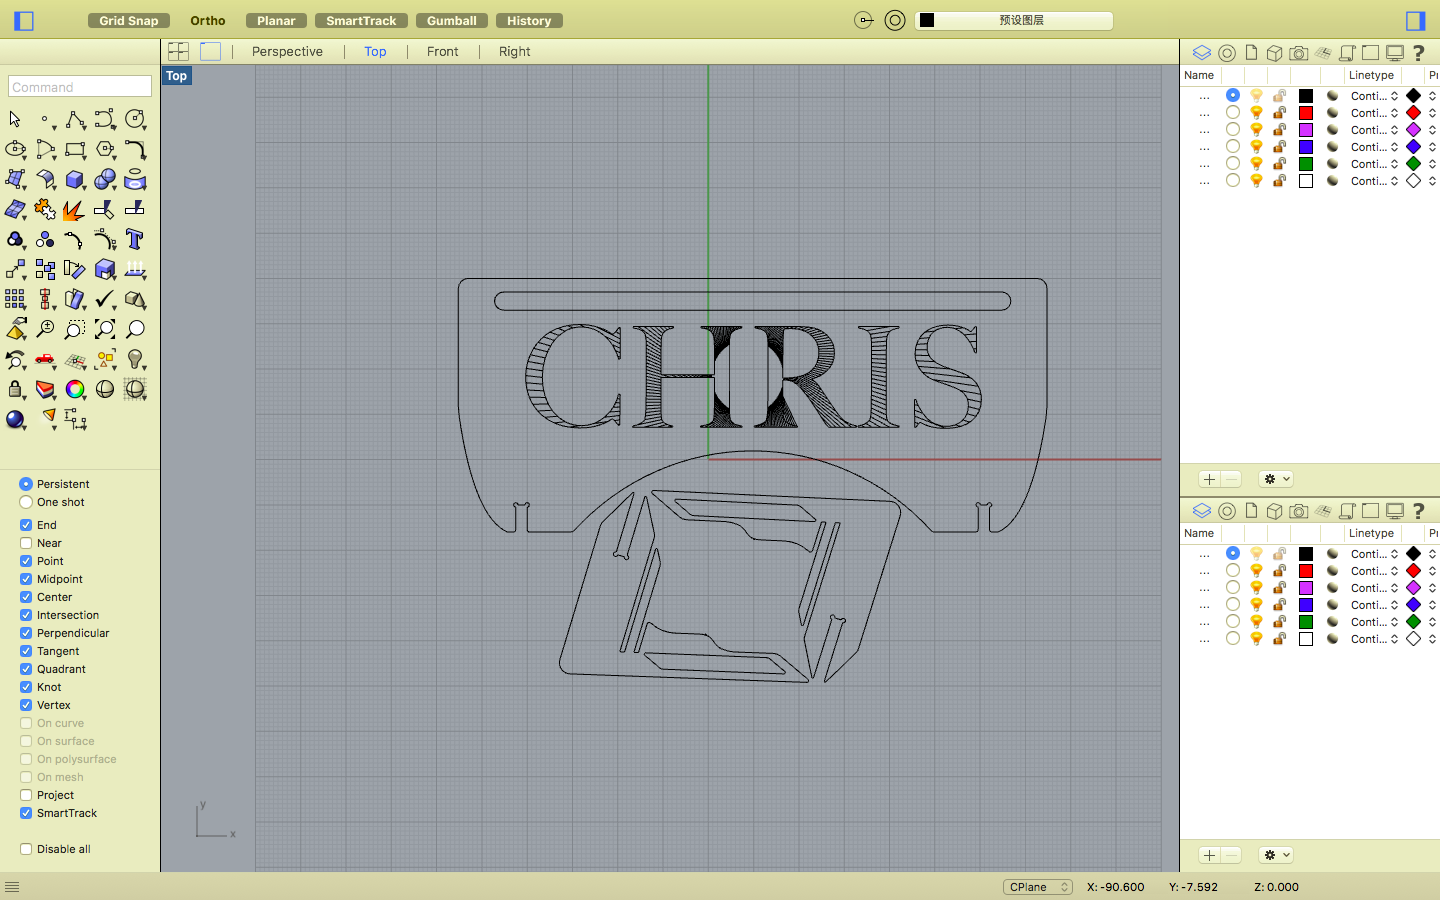
This is a screenshot of the software Rhinoceros I used to draw the 2D scratch of the nametag. Saving it using dxf file, I could easily engrave or cut the shape on the machine.

Image 0202
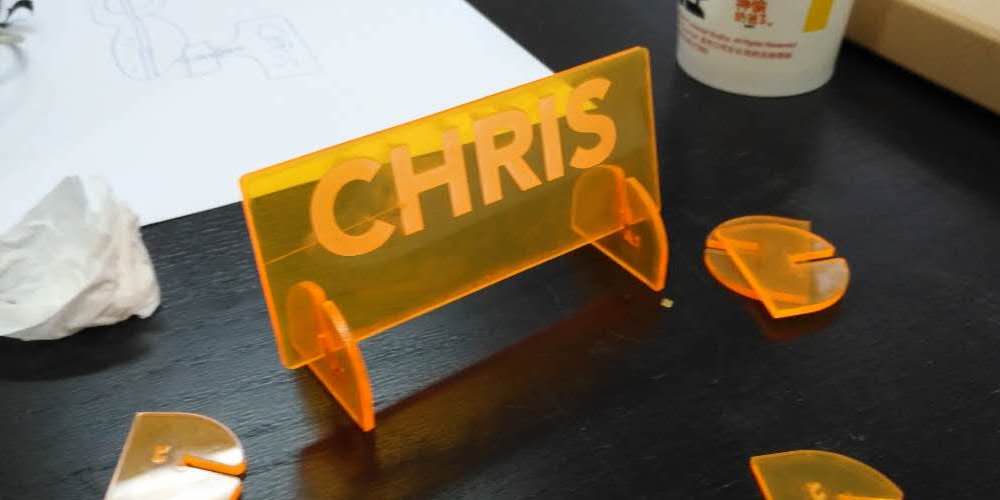
This is a image of the first model I made for a trial. We mainly focused on the problems it had, such as unmatched or askew socket. This model provided me with lots of reliable data and made it possible to improve the quality of the next model.

Image 0203
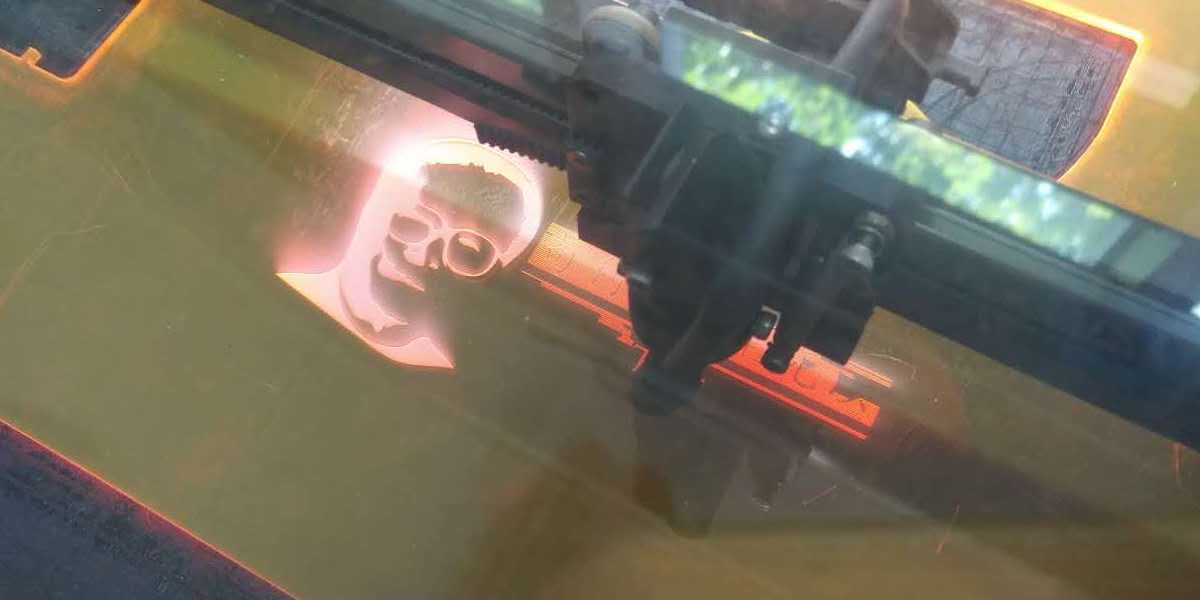
This is a image of the laser cutting machine while working. What it was drawing was a portray of former Chinese president Jiang Zemin and his famous quote.
P.S. When setting the machine, we changed the lines to red in order to engrve them, instead of cutting them through. To cut the parts, we changed their profile to black. Some other settings should also be noticed, like the line thickness was 0.05pt.

Image 0204
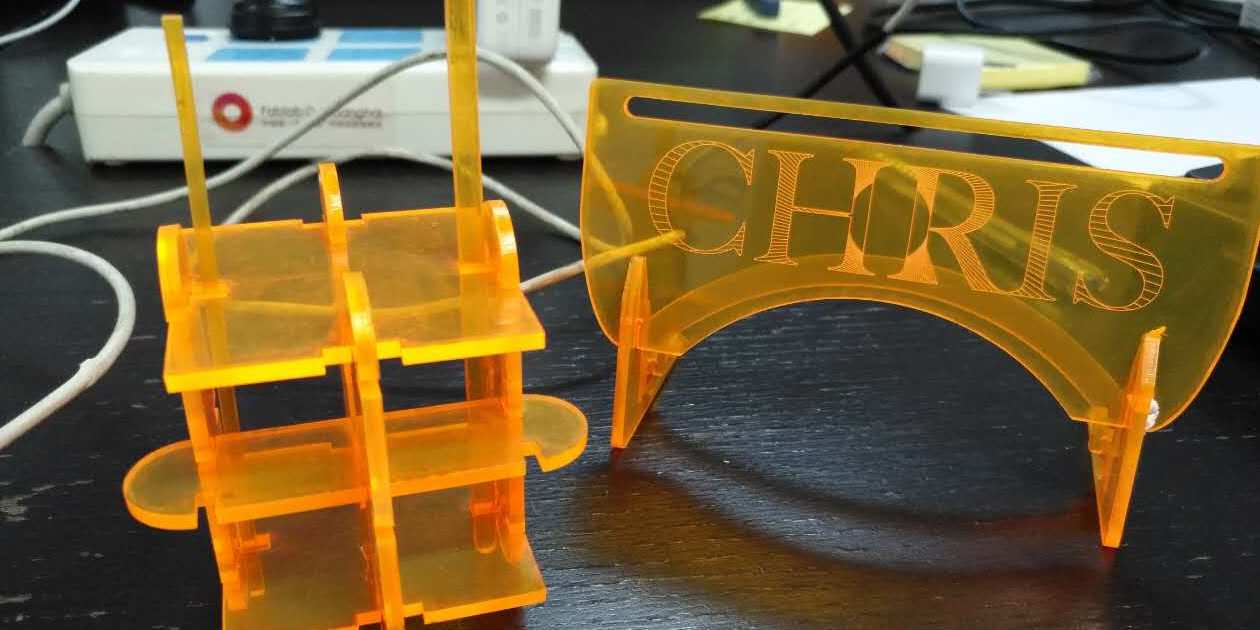
This is a image of what I made in Class 2. They are a multifuctional base and a nametag of my own, each one with many small components.
P.S. Because of the width of the cutting path, the actual width of the socket we used to connect two components was smaller than it was supposed to be. To solve the problem, we amplified the socket to ensure that the designed width was 2.45mm, 0.2mm larger than the measured width.
