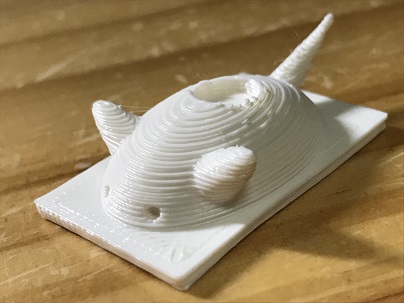
Class 3: 3D print with Rihno's designing

Today, we have learned how to design a 3D model by using rihno and print it on 3D printer.

  • Rhino

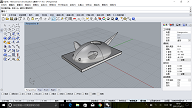
  • IN previous class, I have known how to use rhino to do a pretty 2D design piece. In today's class, I have learned to design a simple(it can be difficult and cool) piece by using rihno too.
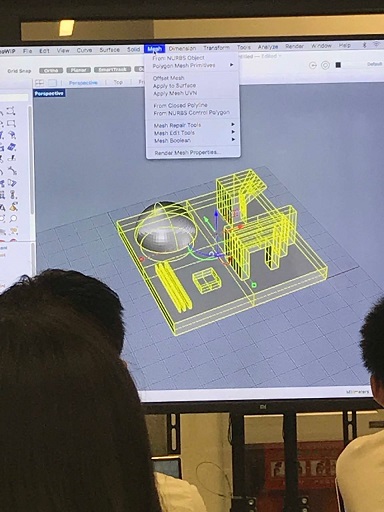
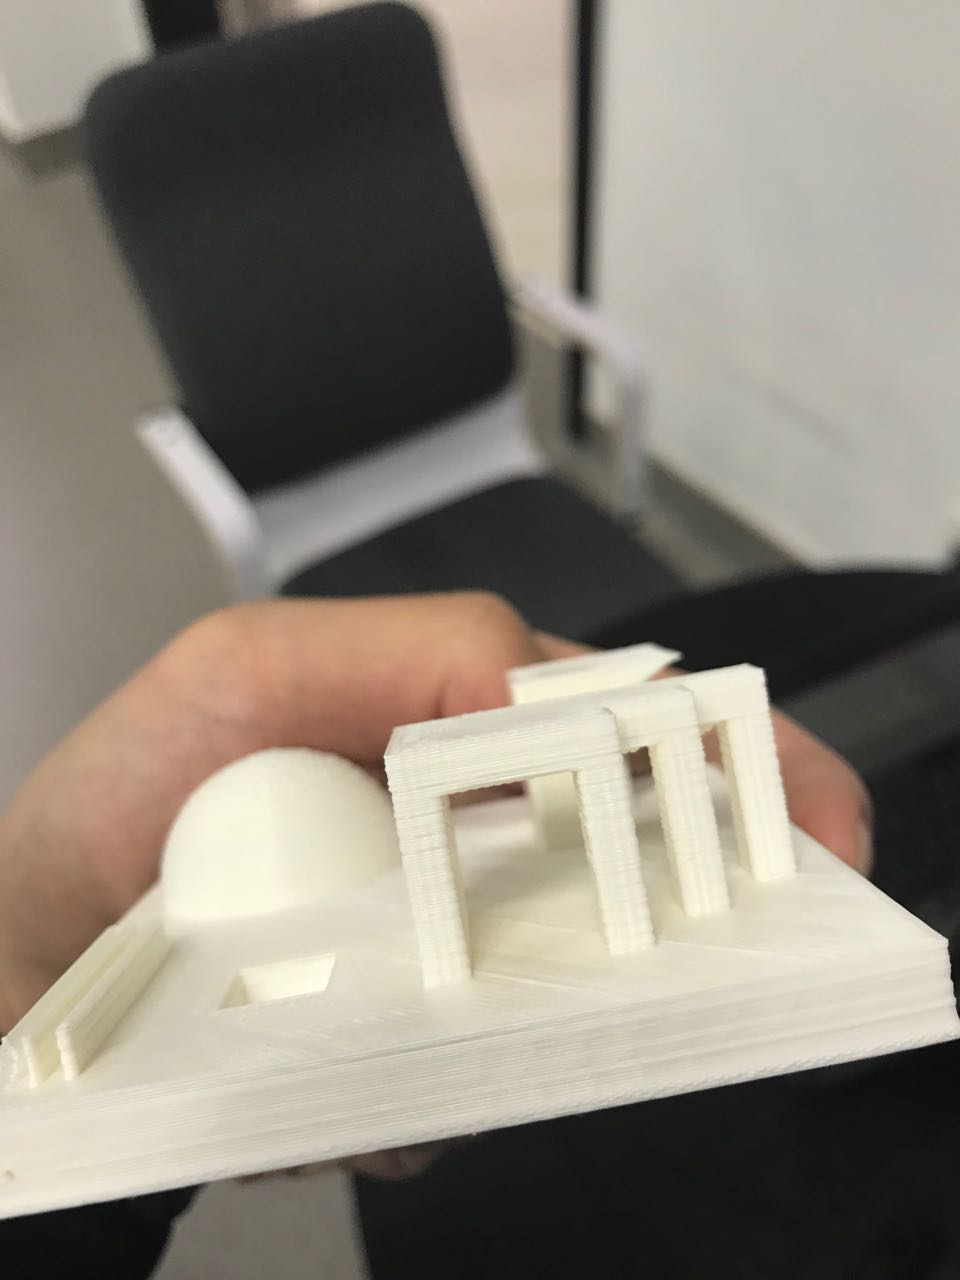
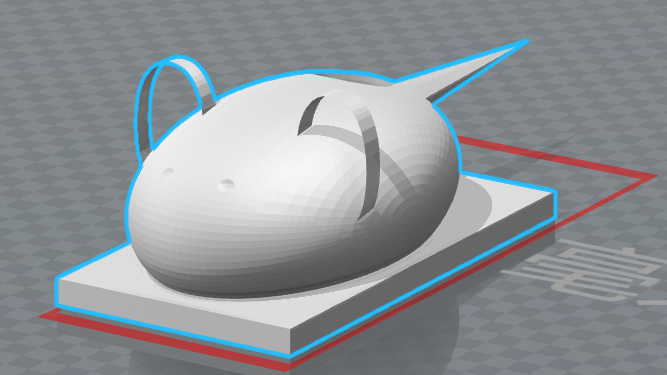
  • This picture is a test mode, which is used to test whether your set and your design parameter are suitable. For example, there are supporting and non-supporting model, which set and parameter should we use so that the non-supporting structure will not fall,because when the 3D printer is printing something, the material firstly is melted, so we can not design something too heavy and long which is without supporting.
  • Let us take a careful look at this practical model so that we know why we need to test and what is the non-supporting structure.
  • This is my design, though it is very simple but it actually carry a supporting and non-supporting structure.
  • XYZ printer

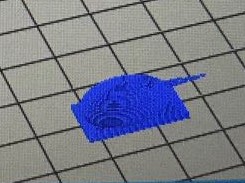
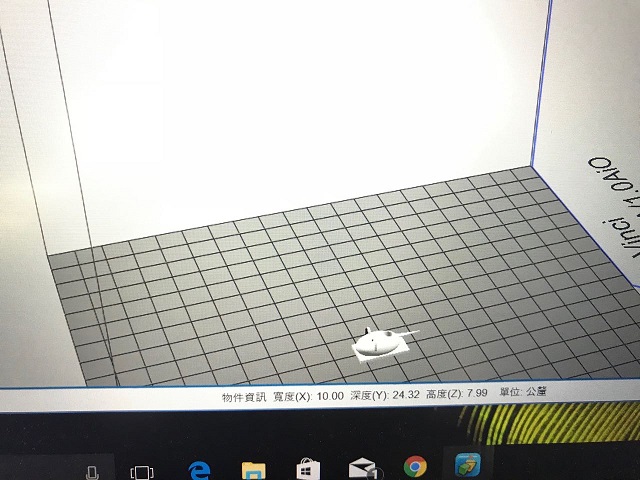
  • The very significant thing is that when you upload your file into the 3D printer, you should(must) check your print preview, because two models are different. You can see.
  • Why? The reason is that I design a too small model, it can be measured with millimetre, which causes that the 3D print can't make this exact model.Therefore, I must make it in a larger scale.
  • Continue

  • This is my second model which I adjust the size and scale, so let us see the final piece.
  • However, it is still small actually, I choose the templet labelled as "small model--centimetre" and design a 5*10*3 piece, but the final article is far from satisfaction.
  • Question

    Since I always got a tiny article, I want to know how to ensure the practical size of the product in Rihno. What's more, whether this size will change in the XYZ software.
  • BACK