CLASS VI
Make a PCB by milling machine
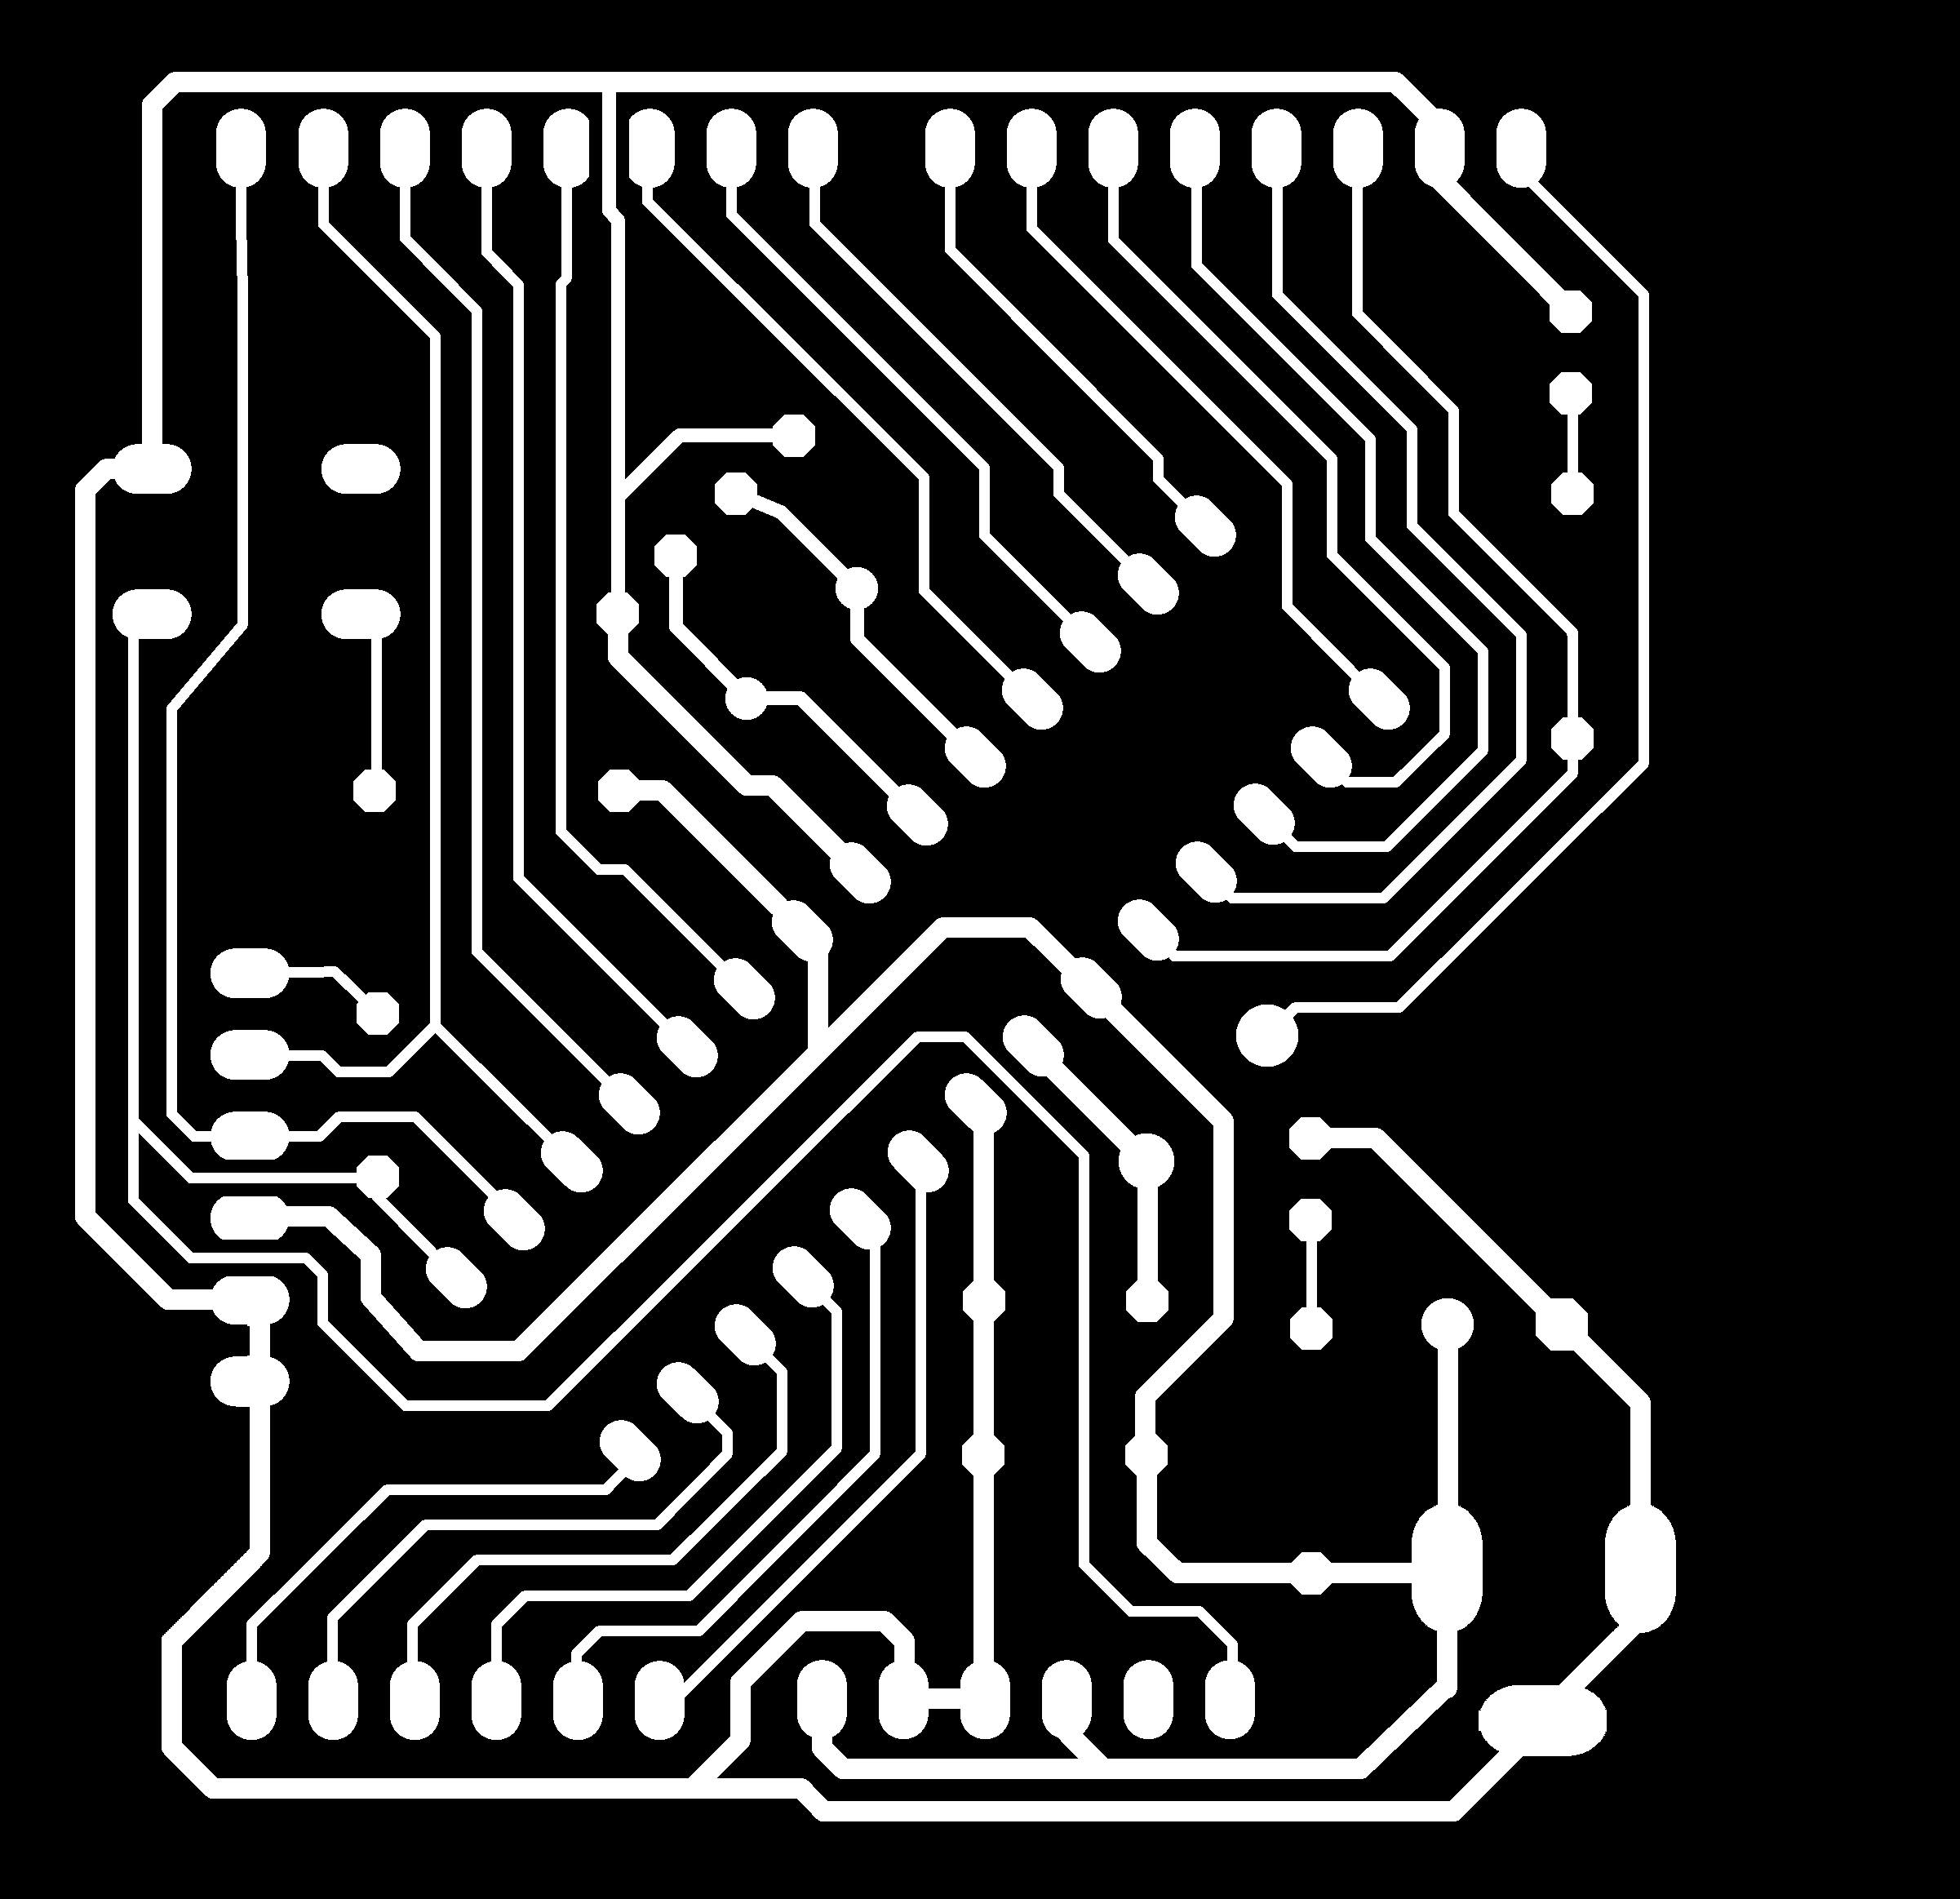
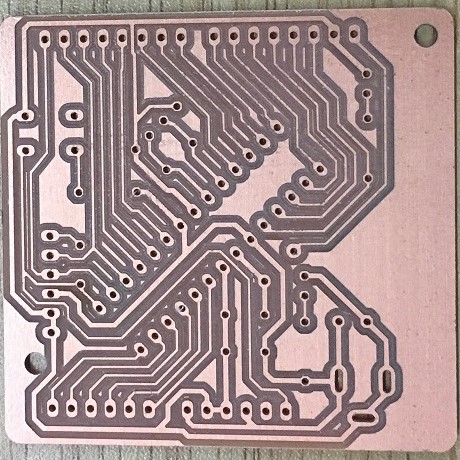
My PCB board
Firstly, we can import the traces of PCB into fabmodules and set the number of offsets 3 and offset overpal 30%. Then click 'calculate'.
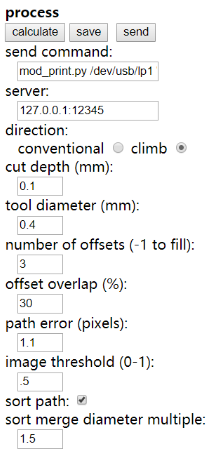
Apply the same methods to calculate the holes and outline of the board. detailed setting are showned in the picture.

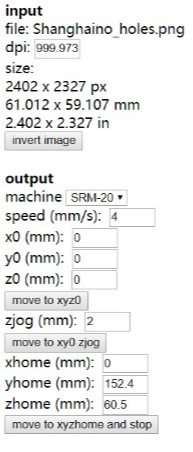

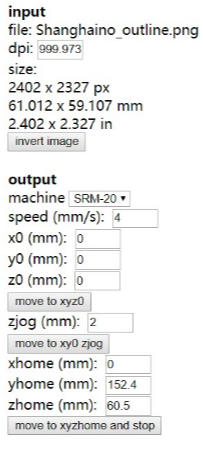
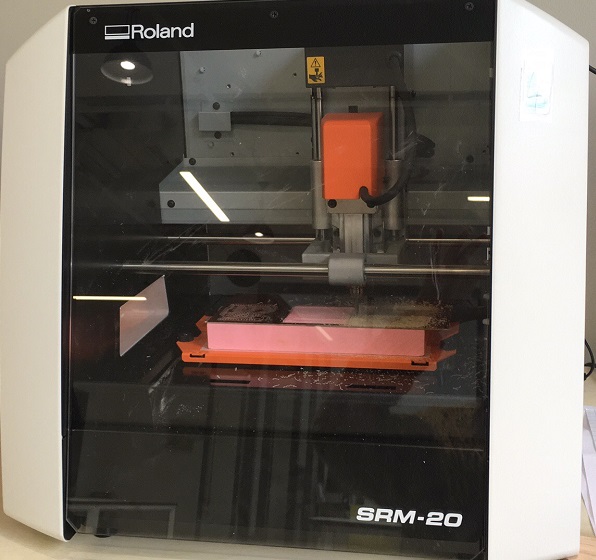
Then we come to use the machine. We are taught not to believe the 'super flat' statement of manufacturer of sacrificial objects. So first thing we should do is to surface the sacrificial board. use 3 mm milling to flatten the surface. Then we use tape to glue the copper board on the sacrificial board to anchor it. A very important thing is that we need to reset the origin of X,Y,Z axis. Remember to unscrew the milling and let it freely touch the surface of the board. use finger to keep it touched and screw up. attention! you must move up the milling machine before you move it in X,Y direction. The next thing is to use 0.4 milling to make the traces and 8mm milling to make holes and outlines. Add file after clicking cut and you are ready to cut the board!
This module is designed to be built by 3D printer and the protruding parts are sed to connect with the wooden holder. The stick is for rotating the gears.